1.简介
Pytest是基于python语言的单元测试框架,也是一个命令行工具,具有以下特点:
- 入门简单,易上手
- 支持大量的第三方插件,如:失败重试,控制用例执行顺序等
- 基于配置文件可以简单的集成CI(持续集成)工具中
2.快速入门
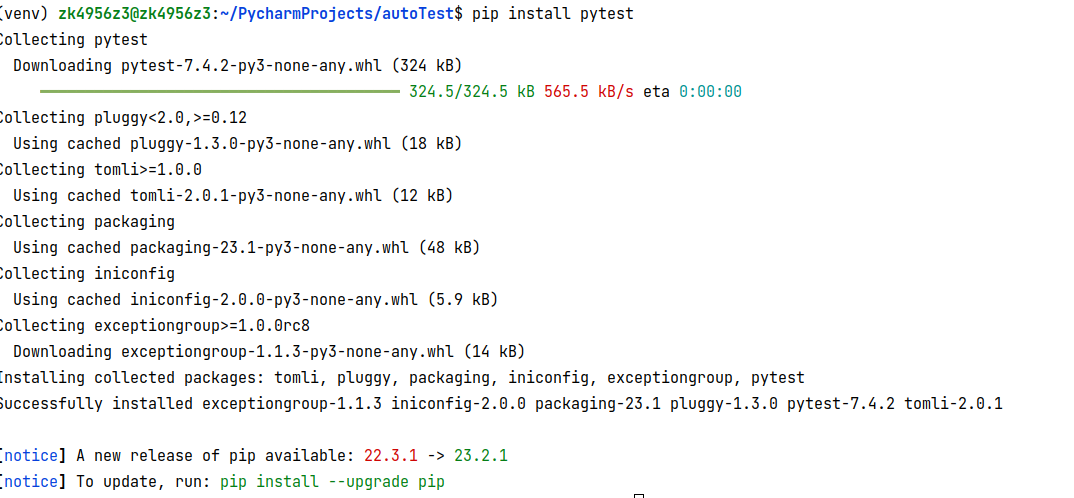
安装
pip install pytest
基本格式
def add(x, y):
    return  x+y


class  TestAddFunc(object):  # 测试用例的类名必须以 Test 为开头
    def test_01(self):  # 方法名和函数名必须以 test 为开头
        print(add(10,20))

    def test_02(self):
        print(add(10, 20))

    def test_03(self):
        print(add(10, 20))
测试运行
pytest中提供了三种方式给测试 人员运行测试用例
- 命令行运行
pytest -s  -v 文件名

# -s:输出测试用例中的print打印的信息
# -v: 输出测试用例的类名和方法名
# -x: 一旦发现测试用例失败,立即停止运行
# no:warnings: 不显示警告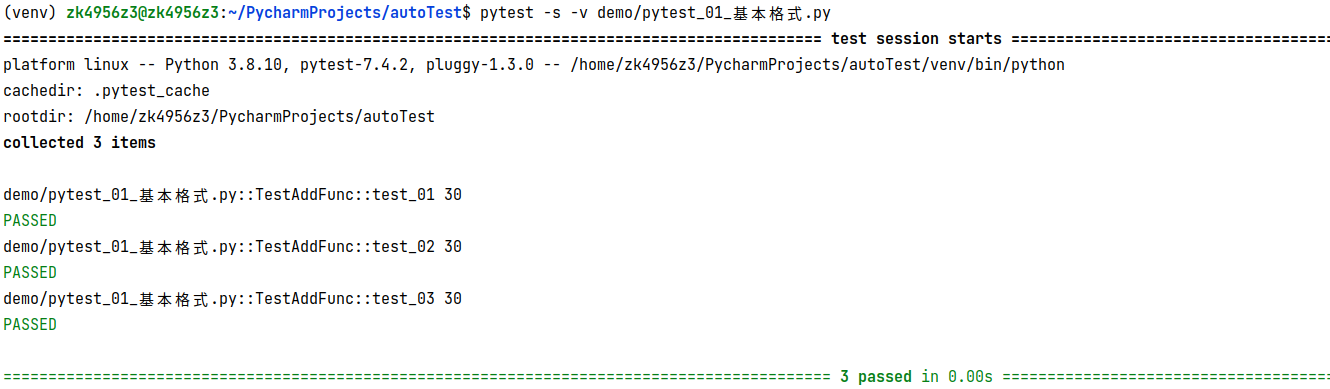
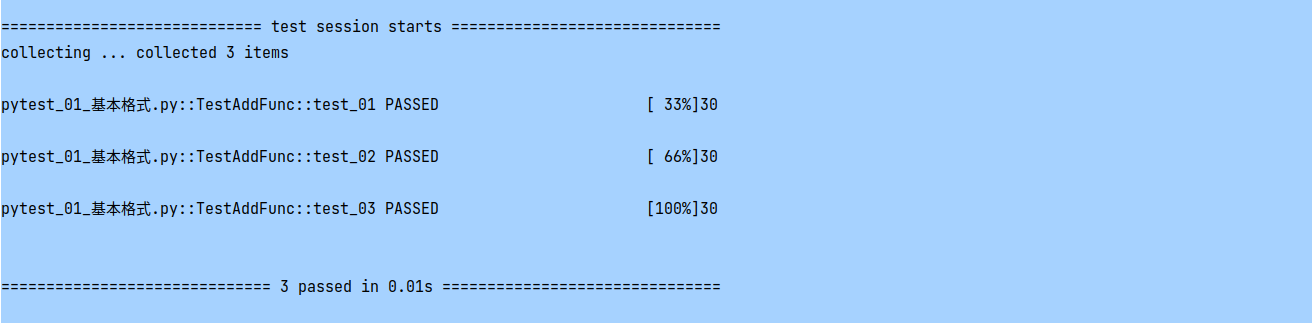
- Pycharm运行
运行测试测试文件即可

- mian函数运行
# pytest.main(["模块文件名::类名::方法名字","参数"])
pytest.main(["./demo/pytest_01_基本格式","-sv"])
# pytest.main(["./demo/pytest_01_基本格式::TestAddFunc","-sv"])
# pytest.main(["./demo/pytest_01_基本格式::TestAddFunc::test_01","-sv"])
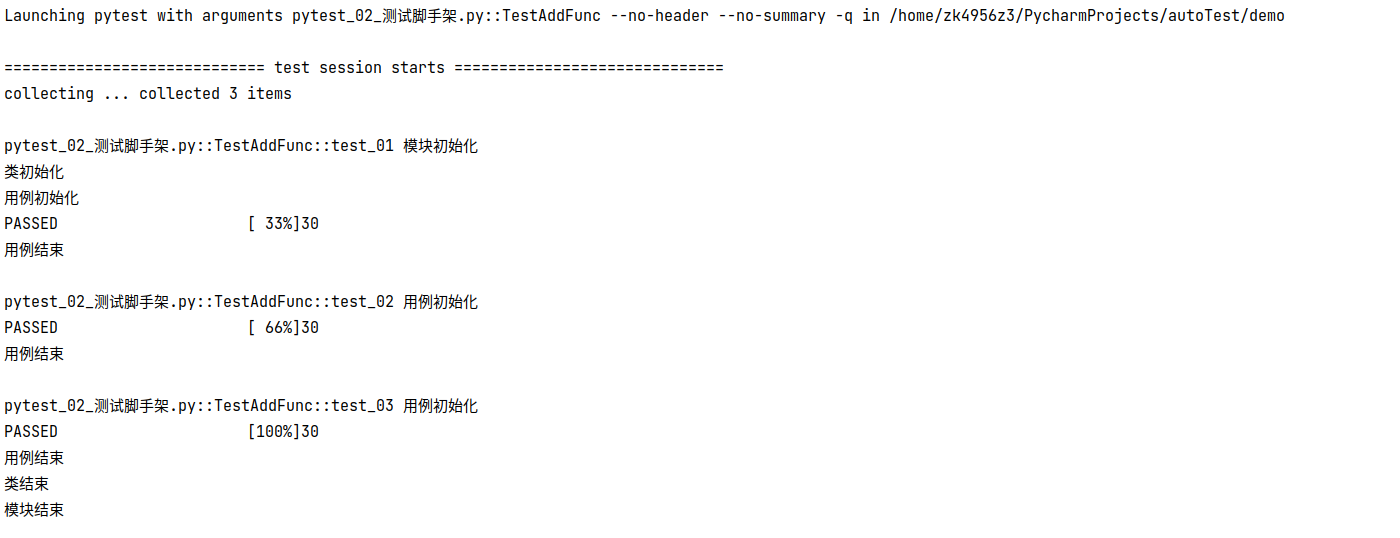
测试脚手架
- 方法级别 :setup 和 teardown ----> 每个用例都会执行
- 类级别: setup_class 和 teardown_class ----> 每个测试类都会执行
- 模块级别: setup_module 和 teardown_module ----> 每个测试模块都会执行
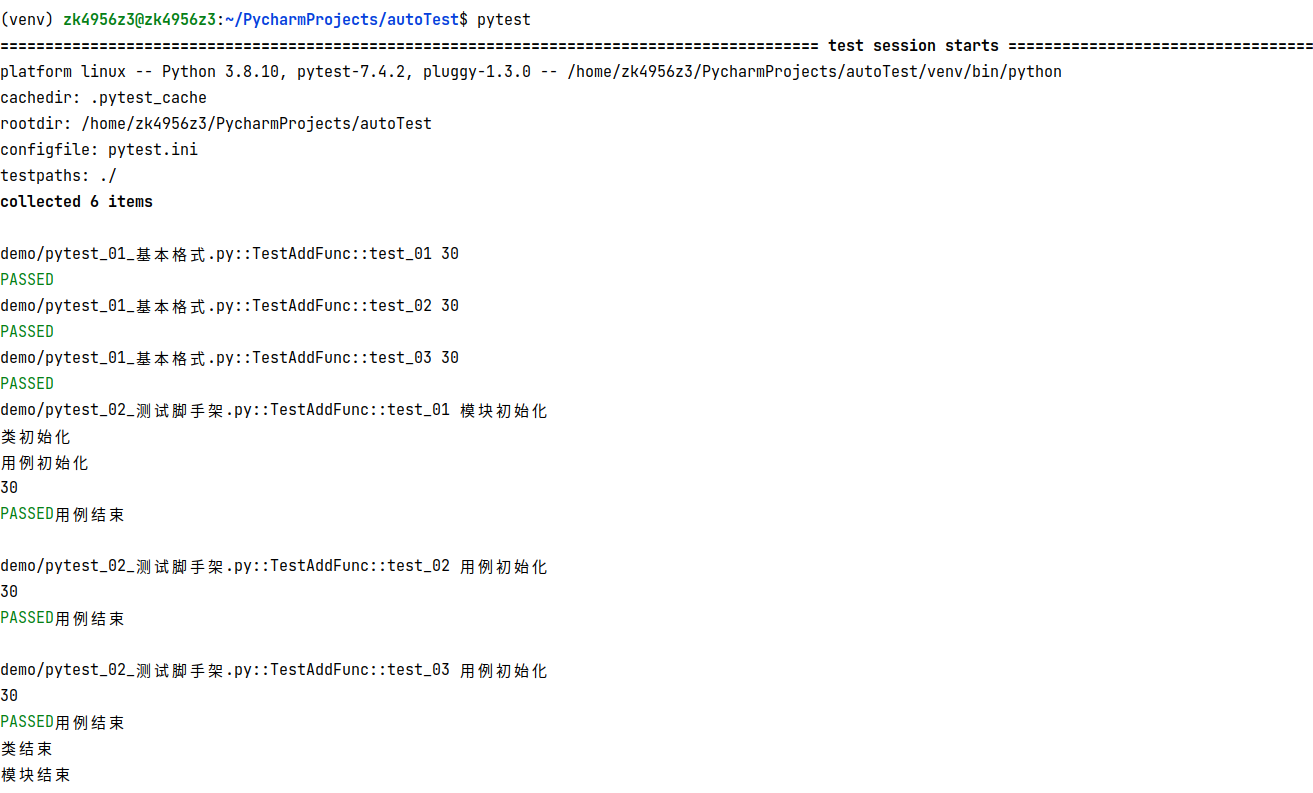
import pytest


def add(x, y):
    return x + y


def setup_module():
    print("模块初始化")


def teardown_module():
    print("模块结束")


class TestAddFunc(object):  # 测试用例的类名必须以 Test 为开头

    def setup_class(self):
        print("类初始化")

    def teardown_class(self):
        print("类结束")

    def setup(self):
        print("用例初始化")

    def teardown(self):
        print("用例结束")

    def test_01(self):  # 方法名和函数名必须以 test 为开头
        print(add(10, 20))

    def test_02(self):
        print(add(10, 20))

    def test_03(self):
        print(add(10, 20))


if __name__ == '__main__':
    # pytest.main(["模块文件名::类名::方法名字","参数"])
    pytest.main(["./demo/pytest_01_基本格式", "-sv"])
    # pytest.main(["./demo/pytest_01_基本格式::TestAddFunc","-sv"])
    # pytest.main(["./demo/pytest_01_基本格式::TestAddFunc::test_01","-sv"])
以上的执行顺序:
基于配置文件运行pytest
在pytest提供的终端运行测试用例的方法上,pytest也支持使用配置文件来指定运行的参数,常用的配置文件名为
- pytest.ini
- tox.ini
- setup.cfg
配置文件一般保存在项目的根目录下
pytest.ini
[pytest]
# 指定运行参数
addopts = -s -v

# 搜索测试文件的目录路径
testpaths = ./

# 搜索测试文件名格式
python_files = test_*.py

# 搜索测试类格式
python_classes = Test*

# 搜索测试方法名格式
python_functions = test_*
运行用例
pytest
断言
pytest中的断言就是python中的关键字assert
格式
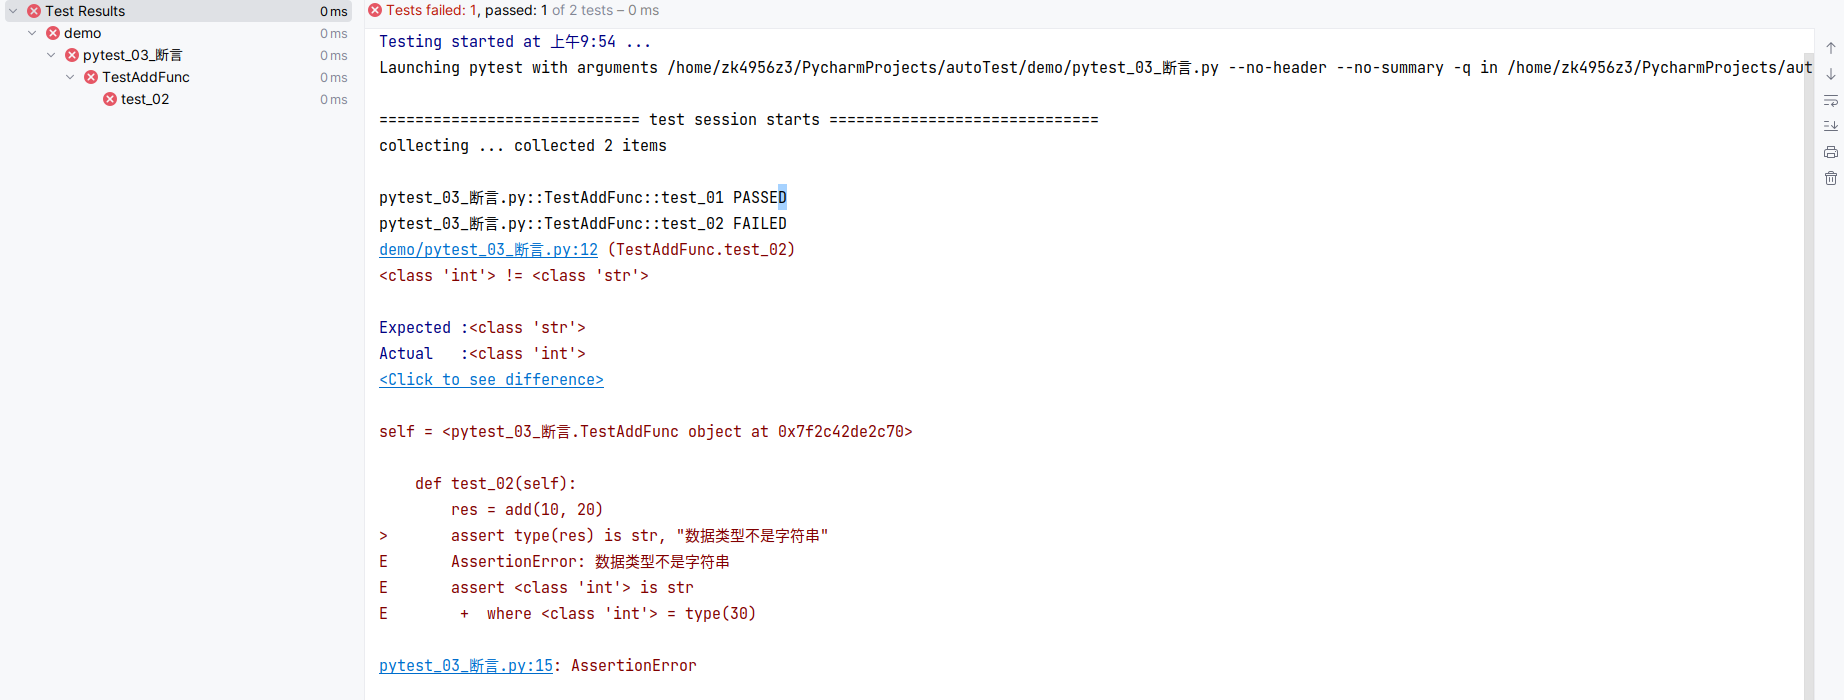
assert 表达式, 断言错误提示信息
import pytest


def add(x, y):
    return  x+y


class  TestAddFunc(object):  # 测试用例的类名必须以 Test 为开头
    def test_01(self):  # 方法名和函数名必须以 test 为开头
        res = add(10,20)
        assert res == 30,"两者不相等"

    def test_02(self):
        res = add(10, 20)
        assert type(res) is str, "数据类型不是字符串"
跳过
根据特定的条件,不执行标识的测试函数
@pytest.mark.skipif(判断条件, reson="跳过原因")
import pytest

version = (2,1,2)
def add(x, y):
    return  x+y


class  TestAddFunc(object):
    def test_01(self):
        res = add(10,20)
        assert res == 30,"两者不相等"

    @pytest.mark.skipif(version>(2,1,1),reason="版本太低,不测试")
    def test_02(self):
        res = add(10, 20)
        assert type(res) is str, "数据类型不是字符串"
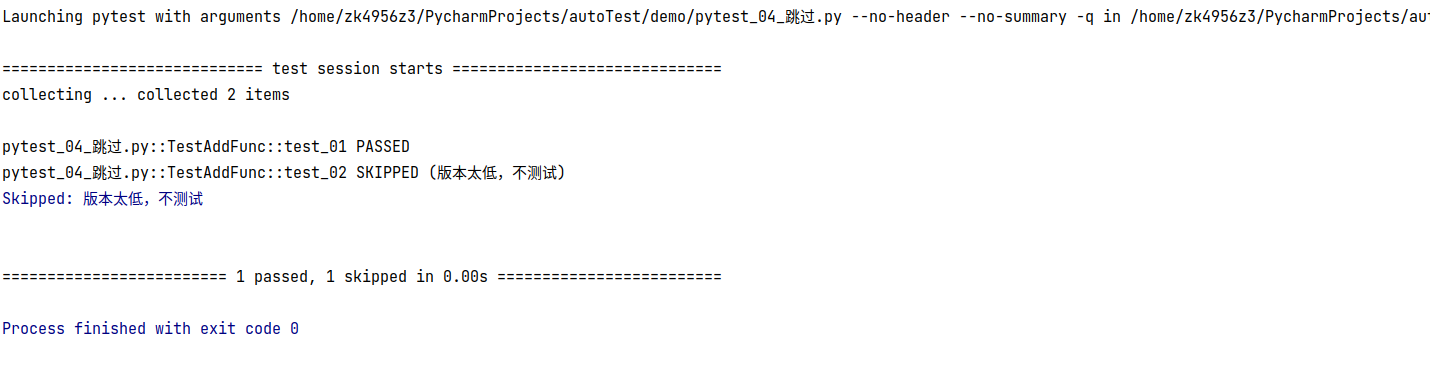
提示:该跳过装饰器可以添加在函数上也可以添加在类上面
参数化
参数化可以将多个测试用例简化为一个或者几个测试函数,说白了就是多个测试用例具有相同的测试参数
import pytest

version = (2,1,2)
def add(x, y):
    return  x+y


class TestAddFunc(object):
    @pytest.mark.parametrize("args",[{'x':10, "y":20,}, {'x':'10', "y":'20',}, {'x':20, "y":20,}])
    def test_start(self, args):
        res = add(**args)
        print(res)
        assert res == 30,"两者不相等"

3.进阶使用
fixture
fixture有个scope的参数,可以控制fixture的作用范围(从大到小):session>mudule>class>function
session:多个文件调用一次,可以跨.py文件调用
mudule: 每一个.py调用一次
class: 每个类调用一次
function:每一个方法或者函数调用一次
- 实现参数化效果
简单使用
import pytest

@pytest.fixture(scope="class")
def fixture_data():
    print("运行fixture")
    return 10, 20

def add(x, y):
    return  x+y

class  TestAddFunc(object):
    def test_01(self, fixture_data): # 参数名字就是脚手架的名字,必须保持一致
        res = add(fixture_data[0],fixture_data[1])
        assert res == 30,"两者不相等"

    def test_02(self, fixture_data):
        res = add(fixture_data[0],fixture_data[1])
        assert res == 30,"两者不相等"

多个脚手架使用
import pytest

@pytest.fixture(scope="class")
def fixture_data_01():
    print("运行fixture-01")
    return 10, 20


@pytest.fixture(scope="class")
def fixture_data_02():
    print("运行fixture-02")
    return 10, 30

def add(x, y):
    return  x+y


# 可以显示的指明调用的fixture,不加也是可以的,主要是便于阅读代码
@pytest.mark.usefixtures("fixture_data_01")
@pytest.mark.usefixtures("fixture_data_02")
class  TestAddFunc(object):
    def test_01(self, fixture_data_01):
        res = add(fixture_data_01[0],fixture_data_01[1])
        assert res == 30,"两者不相等"

    def test_02(self, fixture_data_02):
        res = add(fixture_data_02[0],fixture_data_02[1])
        assert res == 40,"两者不相等"
- 自动执行
可以实现类似setup和teardown的作用,在执行用例之前或者之后运行
import pytest

# 在每一个测试用例执行之前执行
@pytest.fixture(scope="function", autouse=True)
def fixture_data_01():
    print("运行fixture-01")
    return 10, 20

# 不会自动执行
@pytest.fixture(scope="function")
def fixture_data_02():
    print("运行fixture-02")
    return 10, 30

def add(x, y):
    return  x+y

class  TestAddFunc(object):
    def test_01(self):
        pass

    def test_02(self):
        pass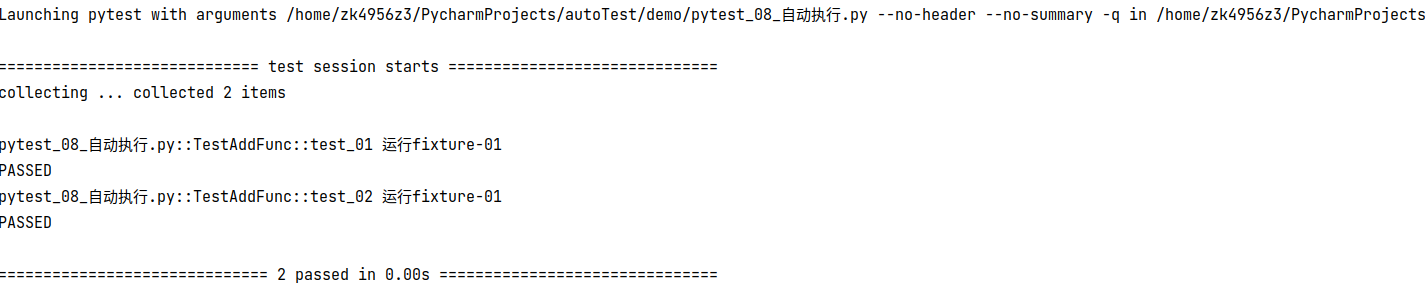
- yied使用
在上面的案例中我们可以实现类似setup的作用,即可以在用例执行之前运行,那么如何实现teardown的作用呢?就可以使用yield的关键字
说的更直白一点就是yied关键字可以实现teardown和setup的集合,同时yied的返回值可以充当用例的执行入参,非常类似python中的上下文操作
import pytest

@pytest.fixture(scope="function", autouse=True)
def fixture_data_01():
    print("开始运行fixture-01")
    yield 10
    print("结束运行fixture-01")


def add(x, y):
    return  x+y


class  TestAddFunc(object):
    def test_01(self, fixture_data_01):
        print(fixture_data_01)
        pass

    def test_02(self):
        pass

- fixture代码分离
我们可以将fixture的代码写好,放在一个名为conftest.py文件中,可以被pytest自动识别,进而实现了测试用例和fixture的分离
conftest.py应该和测试代码放在同一个目录下,在实际开发中可以有多个conftest.py文件,每个文件的作用域是当前自身所在的当前目录及其子目录
conftest.py 代码
import pytest

@pytest.fixture(scope="function", autouse=True)
def fixture_data_01():
    print("开始运行fixture-01")
    yield 10
    print("结束运行fixture-01")
测试用例代码
def add(x, y):
    return  x+y


class  TestAddFunc(object):
    def test_01(self, fixture_data_01):
        print(fixture_data_01)
        pass

    def test_02(self):
        pass
第三方组件的使用
- 控制用例执行顺序
pytest默认执行用例的顺序是按照源代码的上下顺序执行的,如果希望控制执行顺序,可以通过第三方组件pytest-ordering实现
安装
pip install pytest-ordering
使用
执行顺序为:优先执行正序排序的方法,在执行没有排序的方法,最后执行负数排序的方法,如果多个方法都是正序,则先执行排序小,负数亦然import pytest class TestAdd(object): @pytest.mark.run(order=-1) def test_01(self): print("test_01") @pytest.mark.run(order=-2) def test_02(self): print("test_02") def test_03(self): print("test_03") @pytest.mark.run(order=1) def test_04(self): print("test_04") @pytest.mark.run(order=2) def test_05(self): print("test_05")

注意:pytest-ordering组件不能和fixture一起使用,会报错的,如果在使用pytest_ordering的情况下还需要参数化,可以使用@pytest.mark.parameterze - 失败用例重试
针对网络场景和服务端性能不稳定的情况下,进行测试用常常发生用例运行失败的情况,我们可以指定重试次数,已达到重试更加准确的结果
安装
pip install pytest-rerunfailures
使用在执行pytest中添加执行参数即可 --reruns n :重试次数 --reruns-delay m:(重试间隔)
全局失败用例重试
配置文件pytest.ini[pytest] # 指定运行参数 addopts = -s -v -p no:warnings --reruns 3 --reruns-delay 2 # 搜索测试文件的目录路径 testpaths = ./ # 搜索测试文件名格式 python_files = pytest_*.py # 搜索测试类格式 python_classes = Test* # 搜索测试方法名格式 python_functions = test_*
不通过的用例会最多执行3次,每次重试间隔2秒,最后返回结果
局部失败用例测试import pytest def add(x, y): return x+y class TestAddFunc(object): def test_01(self, fixture_data_01): print(fixture_data_01) pass @pytest.mark.flaky(reruns=4, reruns_delay=2) def test_02(self): assert 1== 2

注意:
局部参数会覆盖全局参数,也就是说使用了局部参数,全局用法就会失效
与pytest.fixture脚手架也会存在冲突,不能混合使用 - 用例并发运行
当测试用例非常多的时候,一条条执行是很浪费时间的。如果测试用例之间彼此独立,没有任何依赖关系,就可以并发运行用例,从而节省时间
pytest-xdist可以实现并发运行,属于进程级别的
安装
pip install pytest-xdist
使用
在运行测试用例的时候添加一个参数即可,可以指定运行测试的时候所开启的进程数量-n 4 :使用4个进程运行, -n auto : 自动检测CPU核数,根据CPU核数创建对应数量的进程个数
pytest.ini代码[pytest] # 指定运行参数 addopts = -s -v -p no:warnings --reruns 3 --reruns-delay 2 -n 4 # 搜索测试文件的目录路径 testpaths = ./ # 搜索测试文件名格式 python_files = pytest_*.py # 搜索测试类格式 python_classes = Test* # 搜索测试方法名格式 python_functions = test_*
测试用例
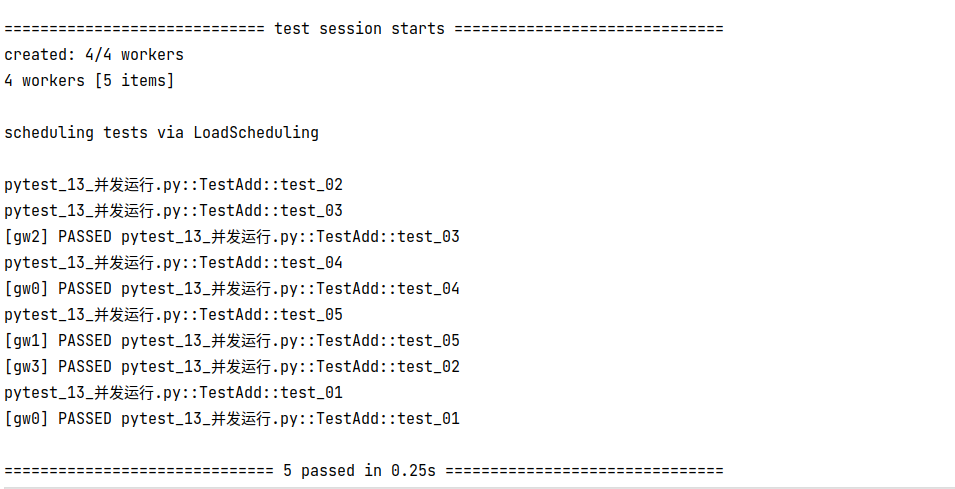
import  pytest

class TestAdd(object):
    @pytest.mark.run(order=-1)
    def test_01(self):
        print("test_01")

    @pytest.mark.run(order=-2)
    def test_02(self):
        print("test_02")
        assert 1 ==1

    def test_03(self):
        print("test_03")

    @pytest.mark.run(order=1)
    def test_04(self):
        print("test_04")

    @pytest.mark.run(order=2)
    def test_05(self):
        print("test_05")
运行结果
- 生成HTML格式测试用例
生成的测试报告很简单,在实际的开发中,还是使用Allure来生成测试报告
安装
pip install pytest-html
使用
在执行测试用例的时候,添加参数 --html=生成测试报告路径 即可
pytest.ini文件[pytest] # 指定运行参数 addopts = -s -v -p no:warnings --reruns 3 --reruns-delay 2 -n 4 --html=report.html # 搜索测试文件的目录路径 testpaths = ./ # 搜索测试文件名格式 python_files = pytest_*.py # 搜索测试类格式 python_classes = Test* # 搜索测试方法名格式 python_functions = test_*
