一、环境准备
| 系统版本 | Centos7.9.2009 |
|---|---|
| Harbor | V2.8.4 |
| 内核版本 | 5.4.249-1.el7.elrepo.x86_64 |
| docker version | 24.0.5 |
| docker-compose version | 1.18.0 |
1、配置阿里yum源(参考:https://developer.aliyun.com/article/704987)
wget -O /etc/yum.repos.d/CentOS-Base.repo http://mirrors.aliyun.com/repo/Centos-7.repo
或者
curl -o /etc/yum.repos.d/CentOS-Base.repo http://mirrors.aliyun.com/repo/Centos-7.repo
2、安装docker-ce镜像源(参考;https://developer.aliyun.com/article/831657)
yum-config-manager --add-repo https://mirrors.aliyun.com/docker-ce/linux/centos/docker-ce.repo
3、更新yum源
清除缓存:yum clean all
生成缓存:yum makecache
4、升级内核(编译安装比较复杂,自行研究,这里采用yum安装方式,参考:https://cloud.tencent.com/developer/article/2107680)
4.1配置第三方kernel源
rpm --import https://www.elrepo.org/RPM-GPG-KEY-elrepo.org
rpm -Uvh http://www.elrepo.org/elrepo-release-7.0-2.el7.elrepo.noarch.rpm
#kernel-lt(长期支持版),kernel-ml(主线最新版本),采用长期支持版本(kernel-lt),更加稳定一些
4.2安装内核
yum --enablerepo=elrepo-kernel install kernel-lt
4.3设置默认启动项
grub2-set-default 0
reboot
uname -r

5、关闭防火墙、selinux、swap分区
点击查看代码
systemctl stop firewalld
systemctl disable firewalld

#临时关闭selinux
setenforce 0
#永久关闭selinux
sed -i 's/^SELINUX=enforcing/SELINUX=disabled/g' /etc/selinux/config

#临时关闭swap
swapoff -a
#永久关闭swap
注释掉/etc/fstab swap分区行
6、yum安装docker-ce、docker-compose
yum -y install docker-ce docker-compose
查看版本
docker version
docker-compose version
7、修改docker cgroup driver (参考:https://www.cnblogs.com/architectforest/p/12988488.html)
7.1修改配置文件 vim /etc/docker/daemon.json 添加行
"exec-opts":["native.cgroupdriver=systemd"]
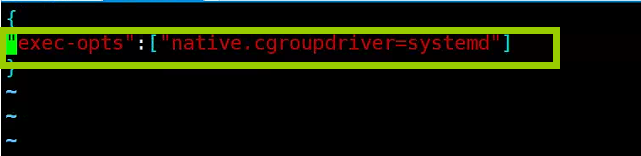
7.2 重启docker
systemctl restart docker

(非公网环境可以使用虚拟机将包下载到本地后上,参考:https://blog.csdn.net/u013992330/article/details/107474711)
二、安装harbor(官方文档:https://goharbor.io/docs/2.8.0/install-config/configure-https/)
1.下载离线安装包(加速地址)https://github.com/goharbor/harbor/releases/tag/v2.8.4
wget https://ghproxy.com/https://github.com/goharbor/harbor/releases/download/v2.8.4/harbor-offline-installer-v2.8.4.tgz
tar -zxvf harbor-offline-installer-v2.8.4.tgz
2、配置https访问
2.1生成证书颁发机构证书
2.1.1生成CA证书私钥
openssl genrsa -out ca.key 4096
2.1.2生产CA证书
我这里subj中的CN配置的主机名harbor,具体可参考官方文档
openssl req -x509 -new -nodes -sha512 -days 3650 \
 -subj "/C=CN/ST=Beijing/L=Beijing/O=example/OU=Personal/CN=yourdomain.com" \
 -key ca.key \
 -out ca.crt
subj的CN我配的harbor
openssl req -sha512 -new \
    -subj "/C=CN/ST=Beijing/L=Beijing/O=example/OU=Personal/CN=yourdomain.com" \
    -key yourdomain.com.key \
    -out yourdomain.com.csr
DNS处我只填写了hostname,根据情况修改
cat > v3.ext <<-EOF
authorityKeyIdentifier=keyid,issuer
basicConstraints=CA:FALSE
keyUsage = digitalSignature, nonRepudiation, keyEncipherment, dataEncipherment
extendedKeyUsage = serverAuth
subjectAltName = @alt_names

[alt_names]
DNS.1=yourdomain.com
DNS.2=yourdomain
DNS.3=hostname
EOF
点击查看代码
openssl x509 -req -sha512 -days 3650 \
    -extfile v3.ext \
    -CA ca.crt -CAkey ca.key -CAcreateserial \
    -in yourdomain.com.csr \
    -out yourdomain.com.crt
cp yourdomain.com.crt /data/cert/
cp yourdomain.com.key /data/cert/
2.3.2将youdomain.com.crt转换成yourdomain.com.cert以供docker使用
Docker守护进程将.crt文件解释为CA证书,将.cert文件解释为客户端证书
openssl x509 -inform PEM -in yourdomain.com.crt -out yourdomain.com.cert
2.3.3将服务器证书、密钥和 CA 文件复制到 Harbor 主机上的 Docker 证书文件夹中。您必须先创建相应的文件夹。
cp yourdomain.com.cert /etc/docker/certs.d/yourdomain.com/
cp yourdomain.com.key /etc/docker/certs.d/yourdomain.com/
cp ca.crt /etc/docker/certs.d/yourdomain.com/
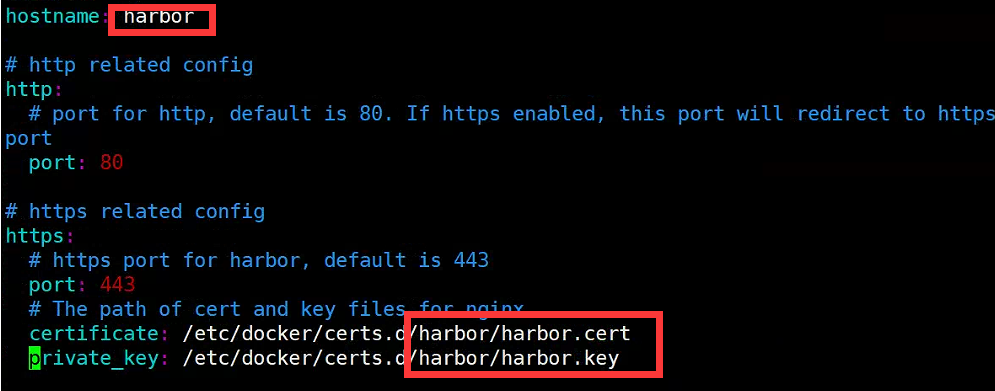
2.3.4配置Harbor的yml文件,根据实际路径填写
2.3.5执行install.sh安装

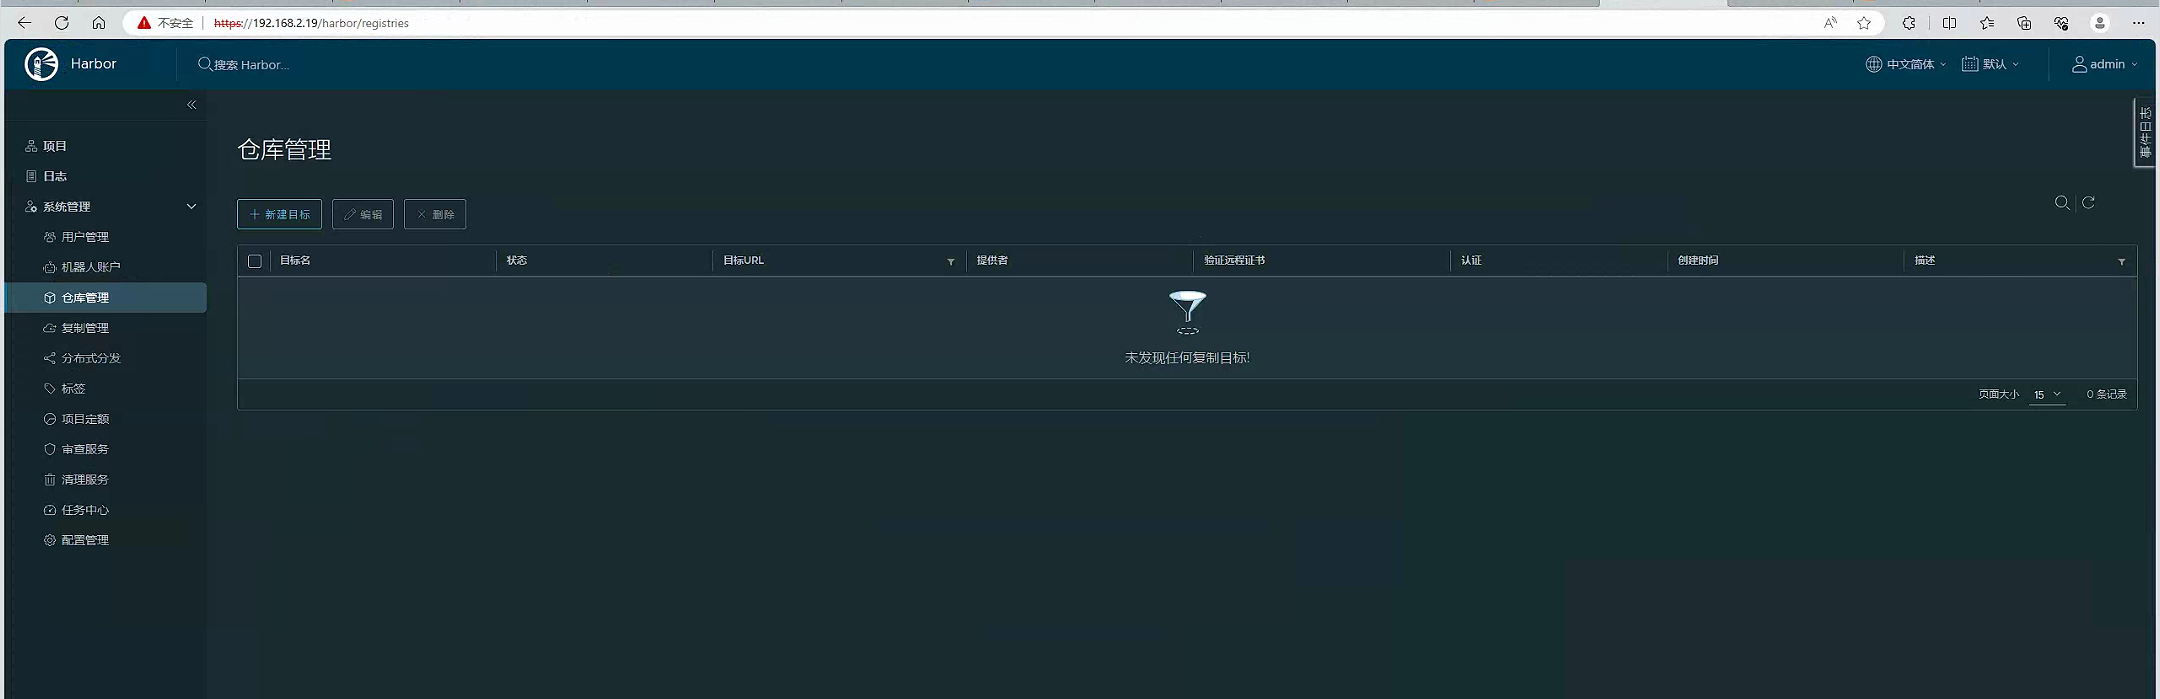
2.3.6通过浏览器访问harbor仓库,我们这使用的80端口直接通过IP访问(初始账号:admin,初始密码:Harbor12345)