一、搭配环境
(1)安装编译工具
sudo apt-get install gcc-aarch64-linux-gnu
sudo apt-get install libncurses5-dev build-essential git bison flex libssl-dev
(2)制作根文件系统
wget https://busybox.net/downloads/busybox-1.33.1.tar.bz2
tar -xjf busybox-1.33.1.tar.bz2
cd busybox-1.33.1
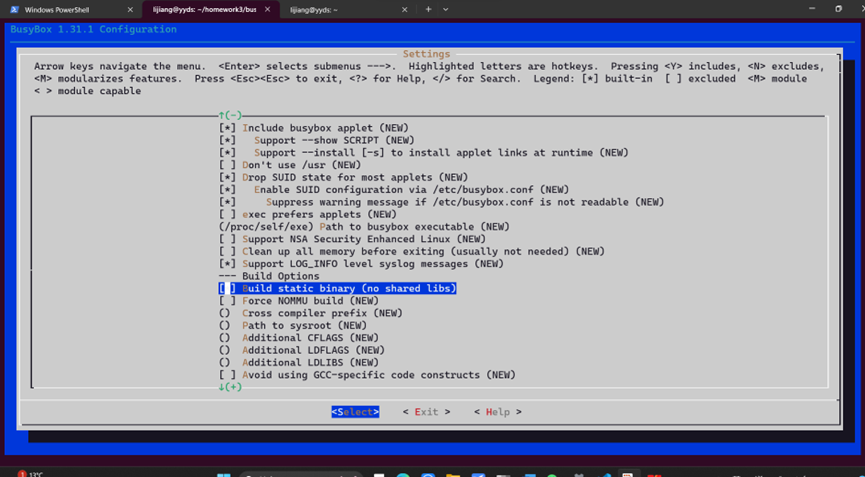
(3)打开静态库编译选项
make menuconfig
Settings --->
[*] Build static binary (no shared libs)
(4)指定编译工具
export ARCH=arm64
export CROSS_COMPILE=aarch64-linux-gnu-
(5)编译
make
make install
(6)编译内核
make defconfig ARCH=arm64
make menuconfig ARCH=arm64
Kernel hacking --->
Compile-time checks and compiler options --->
[*] Compile the kernel with debug info
[*] Provide GDB scripts for kernel debugging
[*] Kernel debugging
Kernel Features ---->
[] Randomize the address of the kernel image
执行编译
export ARCH=arm64
export CROSS_COMPILE=aarch64-linux-gnu-
make Image -j$(nproc)
(6)下载并配置qemu
apt-get install build-essential zlib1g-dev pkg-config libglib2.0-dev binutils-dev libboost-all-dev autoconf libtool libssl-dev libpixman-1-dev libpython-dev python-pip python-capstone virtualenv
wget https://download.qemu.org/qemu-4.2.1.tar.xz
tar xvJf qemu-4.2.1.tar.xz
cd qemu-4.2.1
./configure --target-list=x86_64-softmmu,x86_64-linux-user,arm-softmmu,arm-linux-user,aarch64-softmmu,aarch64-linux-user --enable-kvm
make
sudo make install
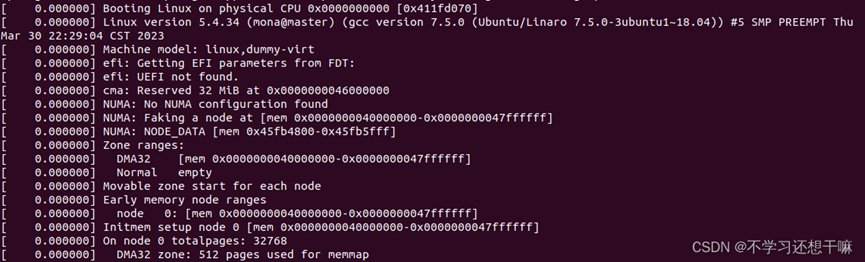
(7)启动qumu
qemu-system-aarch64 -m 128M -smp 1 -cpu cortex-a57 -machine virt -kernel linux-5.4.34/arch/arm64/boot/Image -initrd rootfs.cpio.gz -append "rdinit=/init console=ttyAMA0 loglevel=8" -nographic -s
二、调试分析系统调用
(1)触发 time/gettimeofday 系统调用:在程序中使用内嵌汇编
#include <stdio.h>
#include <time.h>
#include <sys/time.h>
int main()
{
time_t tt;
struct timeval tv;
struct tm *t;
#if 0
gettimeofday(&tv,NULL); // 使用库函数的方式触发系统调用
#else
asm volatile( // 使用内嵌汇编的方式触发系统调用
"add x0, x29, 16\n\t" //X0寄存器用于传递参数&tv
"mov x1, #0x0\n\t" //X1寄存器用于传递参数NULL
"mov x8, #0xa9\n\t" //使用X8传递系统调用号169
"svc #0x0\n\t" //触发系统调用
);
#endif
tt = tv.tv_sec; //tv是保存获取时间结果的结构体
t = localtime(&tt); //将世纪秒转换成对应的年月日时分秒
printf("time: %d/%d/%d %d:%d:%d\n",
t->tm_year + 1900,
t->tm_mon,
t->tm_mday,
t->tm_hour,
t->tm_min,
t->tm_sec);
return 0;
}
编译
aarch64-linux-gnu-gcc -o test test.c -static
(2)进行调试
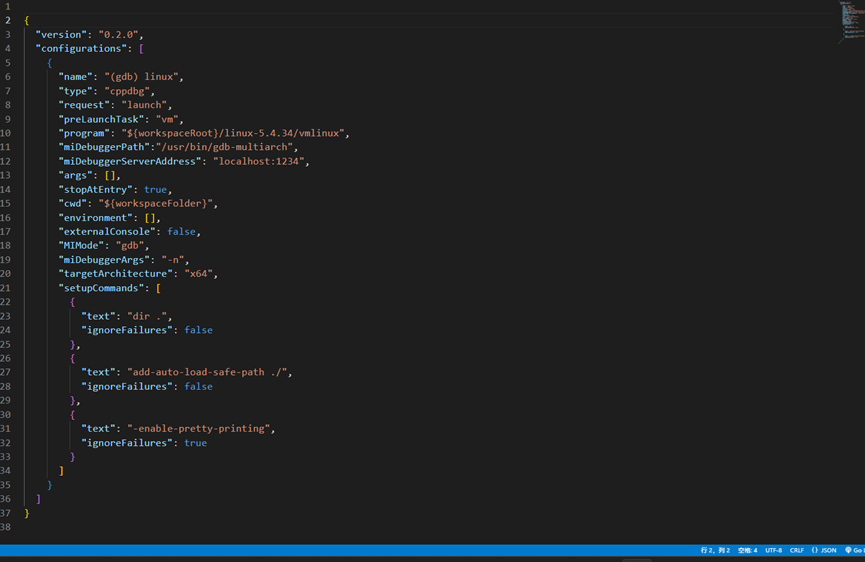
1. 配置vscode文件的launch.json和tasks.json文件,与实验三中配置类似
Launch.json
Tasks.json

2. 添加断点
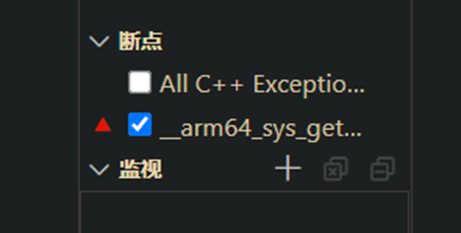
3. 运行调试,可以看到在断点处停了下来
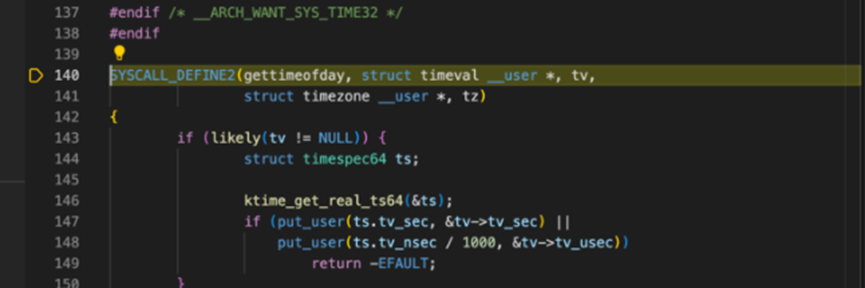
4. 分析系统调用的执行
此处系统调用由svc 指令触发,用户态程序触发系统调用时:先把系统调用的参数依次放入 X0-X5 寄存器,然后把系统调用号放在 X8 寄存器里,最后执行 svc 指令,CPU 即进入内核态
el0_sync 处的内核汇编代码首先做的就是保存程序的执行现场,然后根据异常发生的原因跳转到 el0_svc,el0_svc将 X8 寄存器中存放的系统调用号传递给 invoke_syscall 函数。
接着执行 invoke_syscall 函数,将通用寄存器中的内容传入 syscall_fn(),引出系统调用内核处理函数 __arm64_sys_gettimeofday。
系统调用内核处理函数执行完成后,会将系统调用的返回值存放在 X0 寄存器中。
系统调用返回前,需要恢复异常发生时程序的执行现场,最后内核调用异常返回指令 eret,返回用户态继续执行用户态程序。


