Guice 是一个依赖注入的小清新工具。
相比 Spring 的依赖管理来说,这个工具更加小巧,我们可以在测试中直接使用。
Junit 5
在 Junit 中使用就没有那么方便了,因为 Junit 没有 Guice 的注解。
你需要手动写一个类,在这个类中,对 Injector 的模块进行配置。
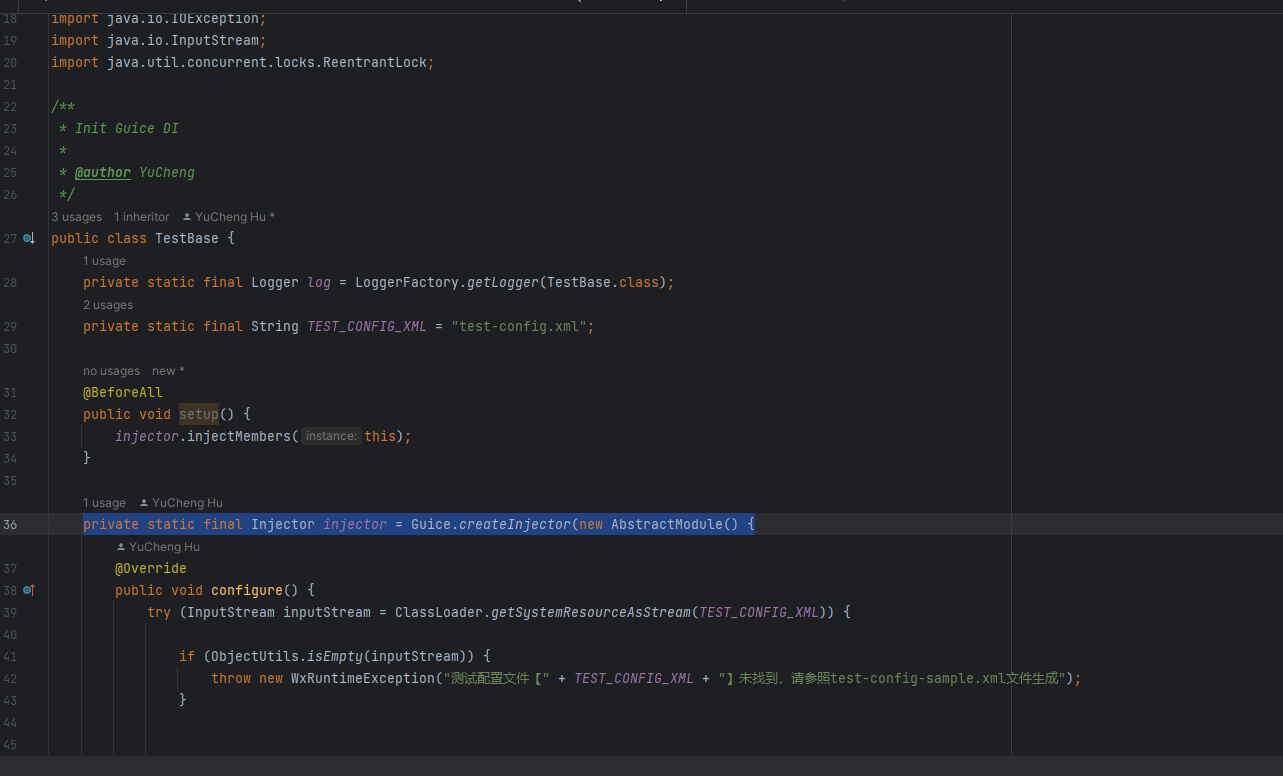
例如我们下面的代码:
package com.ossez.wechat.oa.api.test;

import com.google.inject.AbstractModule;
import com.google.inject.Guice;
import com.google.inject.Injector;
import com.ossez.wechat.common.exception.WxRuntimeException;
import com.ossez.wechat.oa.api.WeChatOfficialAccountService;
import com.ossez.wechat.oa.api.impl.okhttp.WeChatMsgService;
import com.ossez.wechat.oa.api.impl.okhttp.WeChatOfficialAccountServiceOkHttp;
import org.apache.commons.lang3.ObjectUtils;
import org.dom4j.Document;
import org.dom4j.DocumentException;
import org.dom4j.io.SAXReader;
import org.junit.jupiter.api.BeforeAll;
import org.slf4j.Logger;
import org.slf4j.LoggerFactory;

import java.io.IOException;
import java.io.InputStream;
import java.util.concurrent.locks.ReentrantLock;

/**
 * Init Guice DI
 *
 * @author YuCheng
 */
public class TestBase {
    private static final Logger log = LoggerFactory.getLogger(TestBase.class);
    private static final String TEST_CONFIG_XML = "test-config.xml";

    private static final Injector injector = Guice.createInjector(new AbstractModule() {
        @Override
        public void configure() {
            try (InputStream inputStream = ClassLoader.getSystemResourceAsStream(TEST_CONFIG_XML)) {

                if (ObjectUtils.isEmpty(inputStream)) {
                    throw new WxRuntimeException("测试配置文件【" + TEST_CONFIG_XML + "】未找到,请参照test-config-sample.xml文件生成");
                }


                // Init WeChat config for testing
                Document document = new SAXReader().read(inputStream);
                TestConfigStorage config = new TestConfigStorage();
                config.setAppId(document.getRootElement().element("appId").getText());
                config.setSecret(document.getRootElement().element("secret").getText());
                config.setToken(document.getRootElement().element("token").getText());
                config.setOpenid(document.getRootElement().element("openid").getText());
                config.setAccessTokenLock(new ReentrantLock());

                // Init WeChat Service
                WeChatOfficialAccountService weChatOfficialAccountService = new WeChatOfficialAccountServiceOkHttp();
                weChatOfficialAccountService.setWxMpConfigStorage(config);
                weChatOfficialAccountService.addConfigStorage("another", config);

                // Init WeChatMsgService
                WeChatMsgService weChatMsgService = new WeChatMsgService(weChatOfficialAccountService);

                bind(TestConfigStorage.class).toInstance(config);
                bind(WeChatOfficialAccountService.class).toInstance(weChatOfficialAccountService);
                bind(WeChatMsgService.class).toInstance(weChatMsgService);
            } catch (IOException e) {
                log.error(e.getMessage(), e);
            } catch (DocumentException e) {
                throw new RuntimeException(e);
            }
        }

    });


    @BeforeAll
    public void setup() {
        injector.injectMembers(this);
    }
}
在这个代码中,我们定义了一个 TestBase 的类,然后在测试启动的时候对齐进行了初始化和配置。
最主要的就是这个方法:`private static final Injector injector = Guice.createInjector(new AbstractModule() {}
在测试中使用
在测试中使用就比较简单了。
首先需要继承这个 TestBase,然后对需要的类进行注入后就可以直接使用了。

如上图,注入后直接使用。