官网学习地址:https://router.vuejs.org/zh/guide/essentials/named-routes.html
以下介绍了:Router的使用;子路由;路由重定向;编程式导航
环境:
1、已安装VS Code,等插件
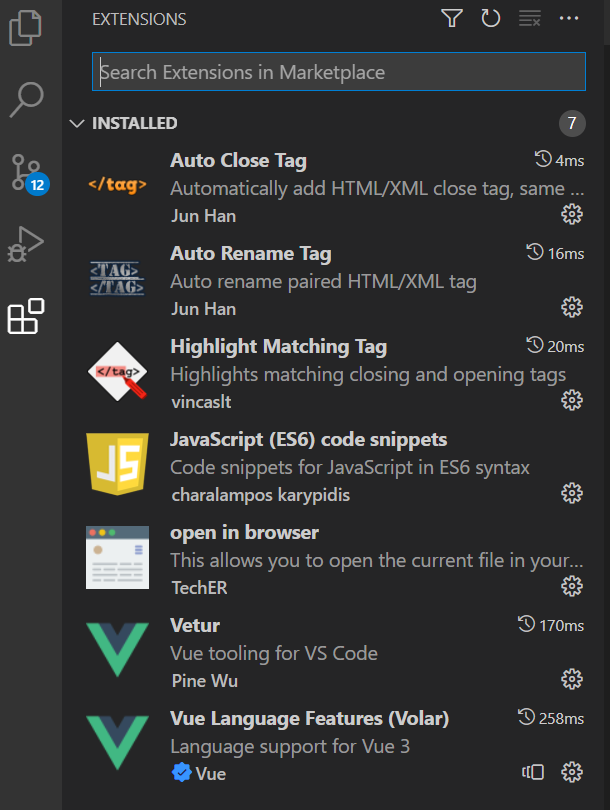
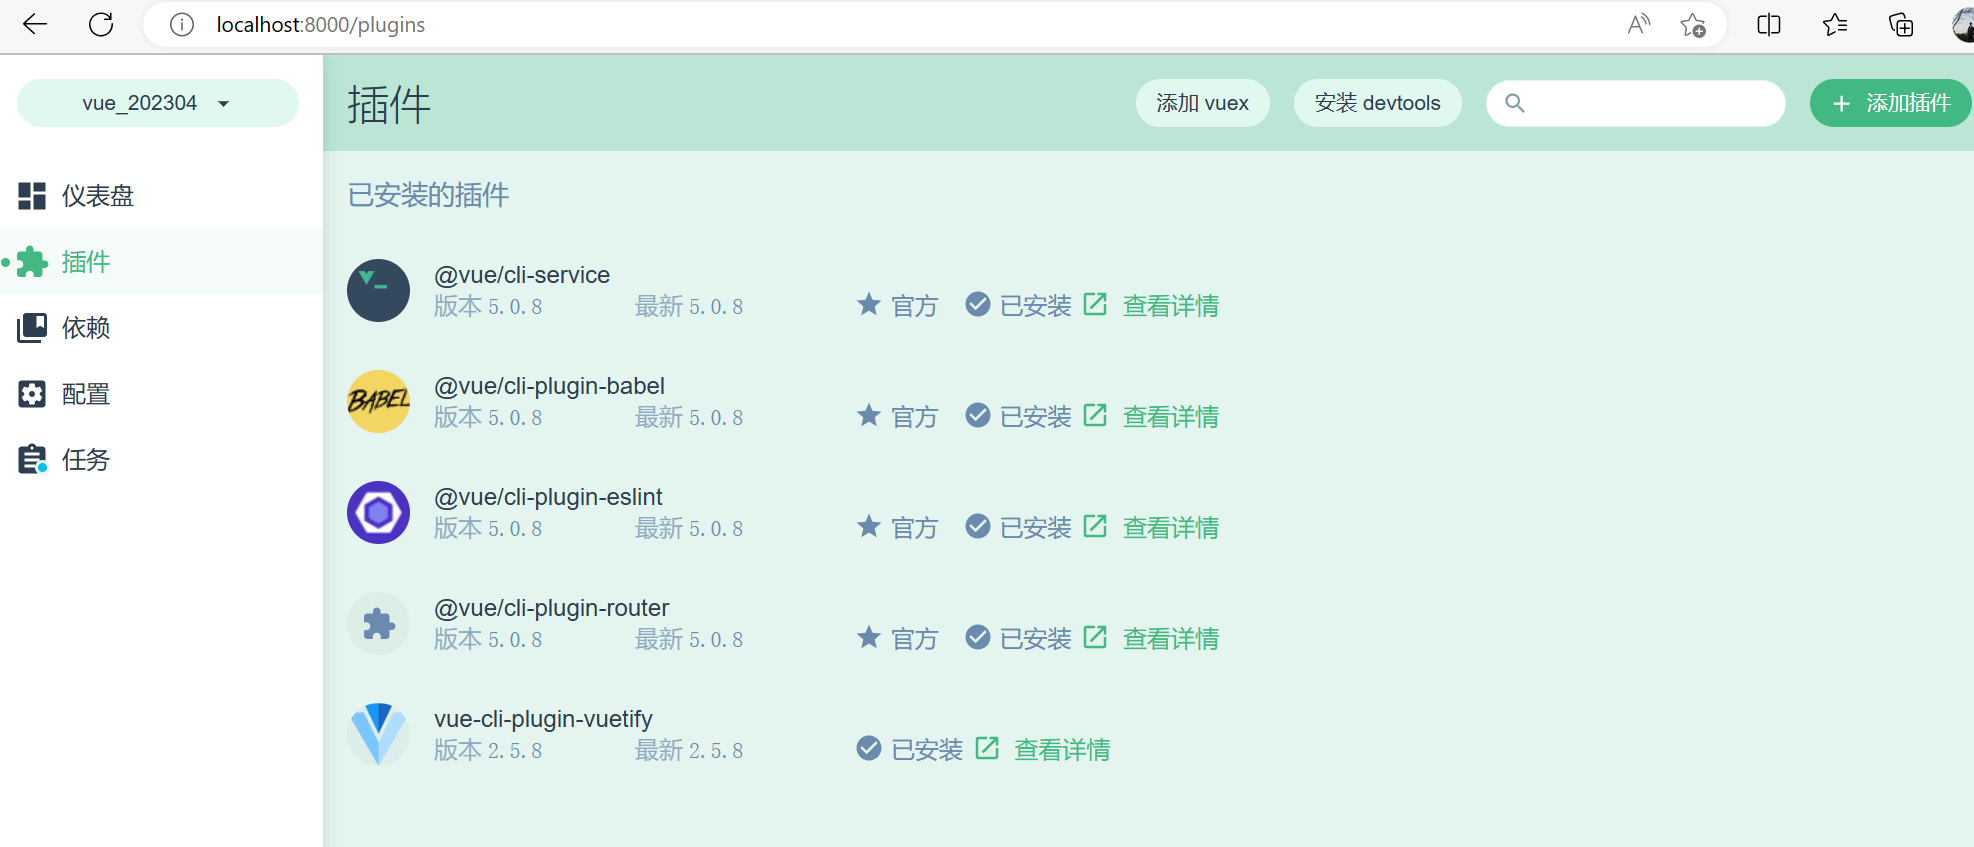
2、前端项目管理页面,已安装 cli-plugin-router 插件
3、启动app
一、Router的使用
// router 路径下的 index.js

/* const routes = [
  // path 代表路由地址
  // name 表示这个路由的名称
  // component 表示这个路由和哪个页面关联
  {
    path: '/',
    name: 'Home',
    component: HomeView
  },
]
*/

{/*
<router-link>:支持用户在具有路由功能的应用中点击导航
to:指定目标地址
<router-view/>:显示与 url 对应的组件
*/}
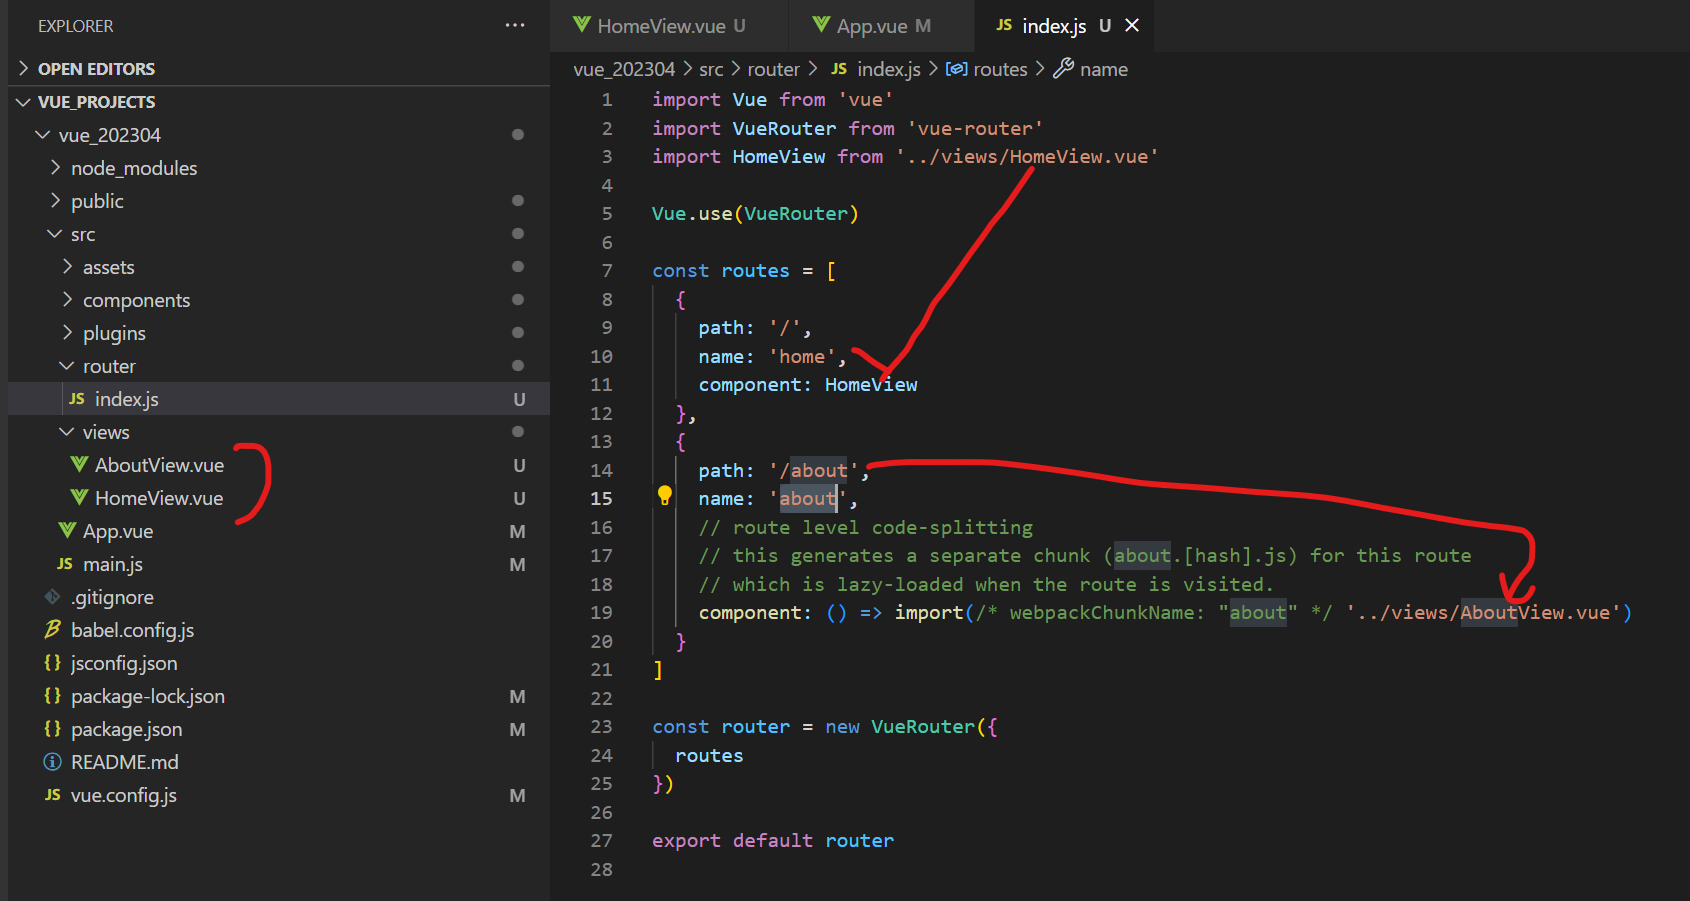
查看代码结构
了解:http://localhost:8080/ 后面多了一个 # 号,是因为 Vue-Router 默认的是哈希模式;不会影响后端,请求不会被带上。
二、实践:创建新路由
index.js添加路由:


import Vue from 'vue'
import VueRouter from 'vue-router'
import HomeView from '../views/HomeView.vue'
import NewLayout from '../views/NewLayout.vue'

Vue.use(VueRouter)

const routes = [
  {
    path: '/newlayout',
    name: 'newlayout',
    component: NewLayout
  },
  {
    path: '/',
    name: 'home',
    component: HomeView
  },
  {
    path: '/about',
    name: 'about',
    // route level code-splitting
    // this generates a separate chunk (about.[hash].js) for this route
    // which is lazy-loaded when the route is visited.
    component: () => import(/* webpackChunkName: "about" */ '../views/AboutView.vue')
  }
]

const router = new VueRouter({
  routes
})

export default router
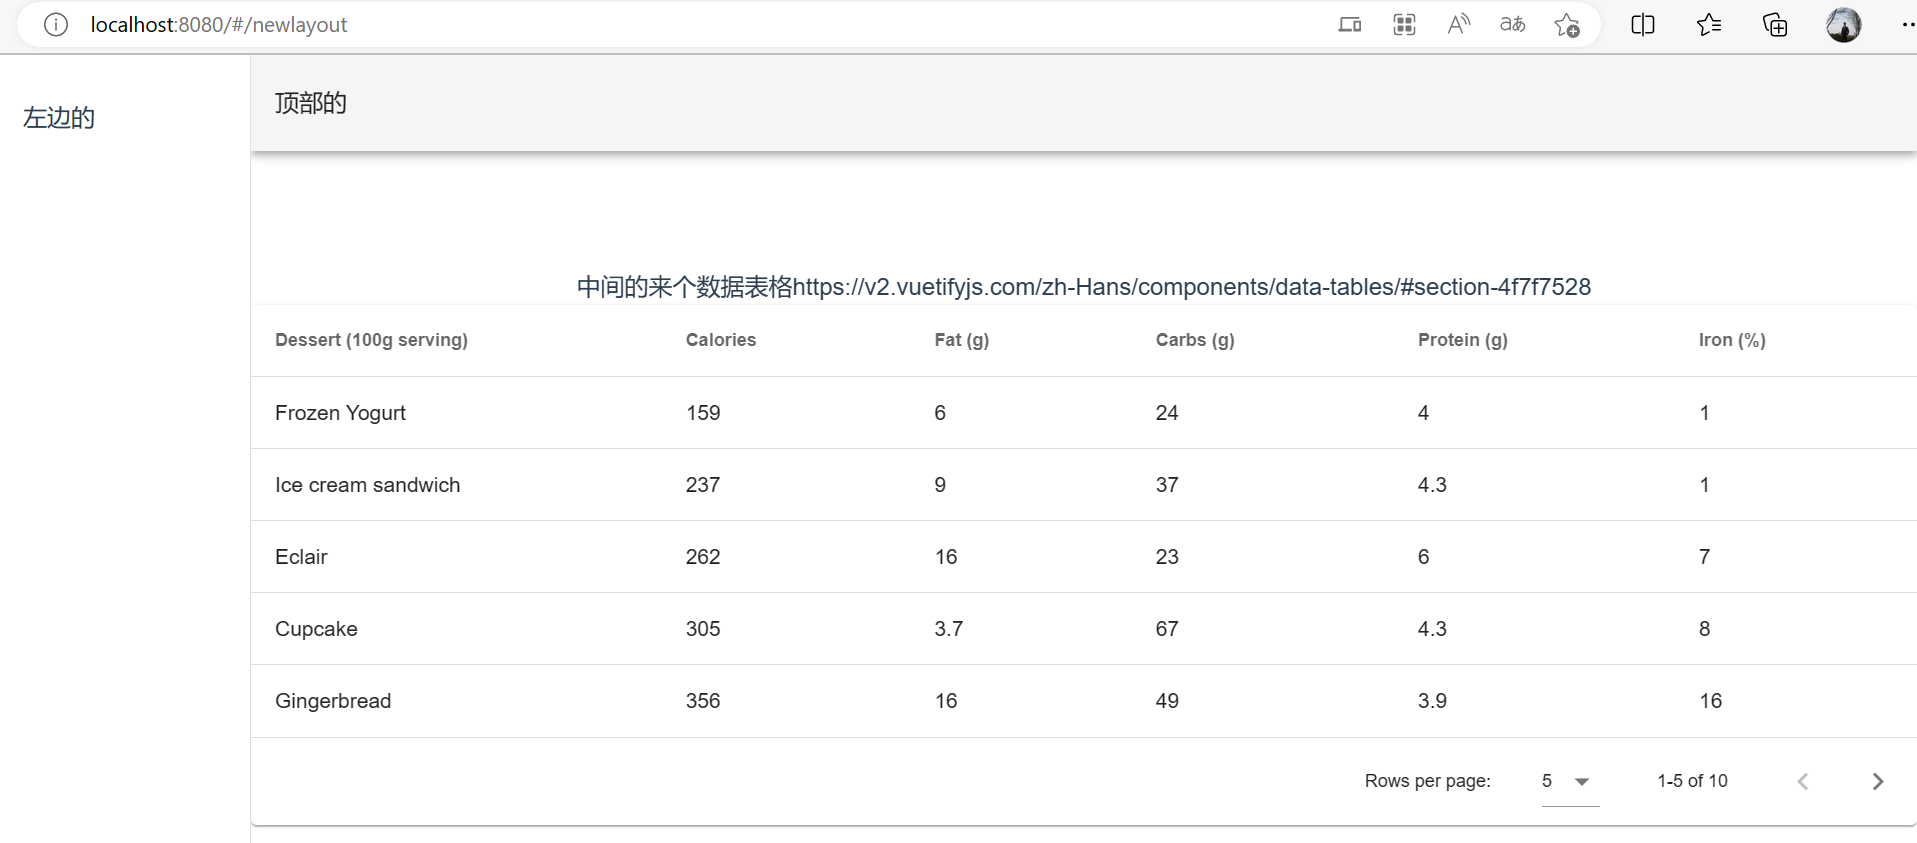
  1 <template>
  2     <!-- App.vue -->
  3
  4     <v-app>
  5         <v-navigation-drawer app>
  6             <div>顶部的</div>
  7             <!-- -->
  8         </v-navigation-drawer>
  9
 10         <v-app-bar app>
 11             <div>左边的</div>
 12             <!-- -->
 13         </v-app-bar>
 14
 15         <!-- 根据应用组件来调整你的内容 -->
 16         <v-main>
 17             <div>中间的来个数据表格https://v2.vuetifyjs.com/zh-Hans/components/data-tables/#section-4f7f7528</div>
 18             <v-data-table
 19                 :headers="headers"
 20                 :items="desserts"
 21                 :items-per-page="5"
 22                 class="elevation-1"
 23             ></v-data-table>
 24
 25             <!-- 给应用提供合适的间距 -->
 26             <v-container fluid>
 27
 28             <!-- 如果使用 vue-router -->
 29             <router-view></router-view>
 30             </v-container>
 31         </v-main>
 32
 33         <v-footer app>
 34             <!-- -->
 35         </v-footer>
 36     </v-app>
 37 </template>
 38 <script>
 39   export default {
 40     data () {
 41       return {
 42         headers: [
 43           {
 44             text: 'Dessert (100g serving)',
 45             align: 'start',
 46             sortable: false,
 47             value: 'name',
 48           },
 49           { text: 'Calories', value: 'calories' },
 50           { text: 'Fat (g)', value: 'fat' },
 51           { text: 'Carbs (g)', value: 'carbs' },
 52           { text: 'Protein (g)', value: 'protein' },
 53           { text: 'Iron (%)', value: 'iron' },
 54         ],
 55         desserts: [
 56           {
 57             name: 'Frozen Yogurt',
 58             calories: 159,
 59             fat: 6.0,
 60             carbs: 24,
 61             protein: 4.0,
 62             iron: 1,
 63           },
 64           {
 65             name: 'Ice cream sandwich',
 66             calories: 237,
 67             fat: 9.0,
 68             carbs: 37,
 69             protein: 4.3,
 70             iron: 1,
 71           },
 72           {
 73             name: 'Eclair',
 74             calories: 262,
 75             fat: 16.0,
 76             carbs: 23,
 77             protein: 6.0,
 78             iron: 7,
 79           },
 80           {
 81             name: 'Cupcake',
 82             calories: 305,
 83             fat: 3.7,
 84             carbs: 67,
 85             protein: 4.3,
 86             iron: 8,
 87           },
 88           {
 89             name: 'Gingerbread',
 90             calories: 356,
 91             fat: 16.0,
 92             carbs: 49,
 93             protein: 3.9,
 94             iron: 16,
 95           },
 96           {
 97             name: 'Jelly bean',
 98             calories: 375,
 99             fat: 0.0,
100             carbs: 94,
101             protein: 0.0,
102             iron: 0,
103           },
104           {
105             name: 'Lollipop',
106             calories: 392,
107             fat: 0.2,
108             carbs: 98,
109             protein: 0,
110             iron: 2,
111           },
112           {
113             name: 'Honeycomb',
114             calories: 408,
115             fat: 3.2,
116             carbs: 87,
117             protein: 6.5,
118             iron: 45,
119           },
120           {
121             name: 'Donut',
122             calories: 452,
123             fat: 25.0,
124             carbs: 51,
125             protein: 4.9,
126             iron: 22,
127           },
128           {
129             name: 'KitKat',
130             calories: 518,
131             fat: 26.0,
132             carbs: 65,
133             protein: 7,
134             iron: 6,
135           },
136         ],
137       }
138     },
139   }
140 </script>
三、子路由
概念:通过路由规则的层级嵌套在页面中展示复杂的组件结构关系
特点:父级路由中存在子级路由
实现:父级路由填充位,通过路由规则的 children 属性,设置子路由
子路由写法:
1、相对路径:子路由path
2、绝对路径:/父路由path/子路由path
子路由实践:
// index.js 路由管理文件
// routes 是路由规则数组
routes: [
    {
      path: "/layout",
      component: Layout,
      // 通过 children 属性为 /layout 添加子路由规则,使用相对路径
      children:[
          { path: "login", component: Login },
          { path: "register", component: Register },
      ]
      // 使用绝对路径添加子路由
      // children:[
      //     { path: "/layout/login", component: Login },
      //     { path: "/layout/register", component: Register },
      // ]

    }
]
index.js添加子路由:
 1   {
 2     path: '/newlayout',
 3     name: 'newlayout',
 4     component: NewLayout,
 5     children:[
 6       {
 7       path: 'children_1',
 8       name: 'children_1',
 9       component: Children_1,
10       }
11     ]
12   },
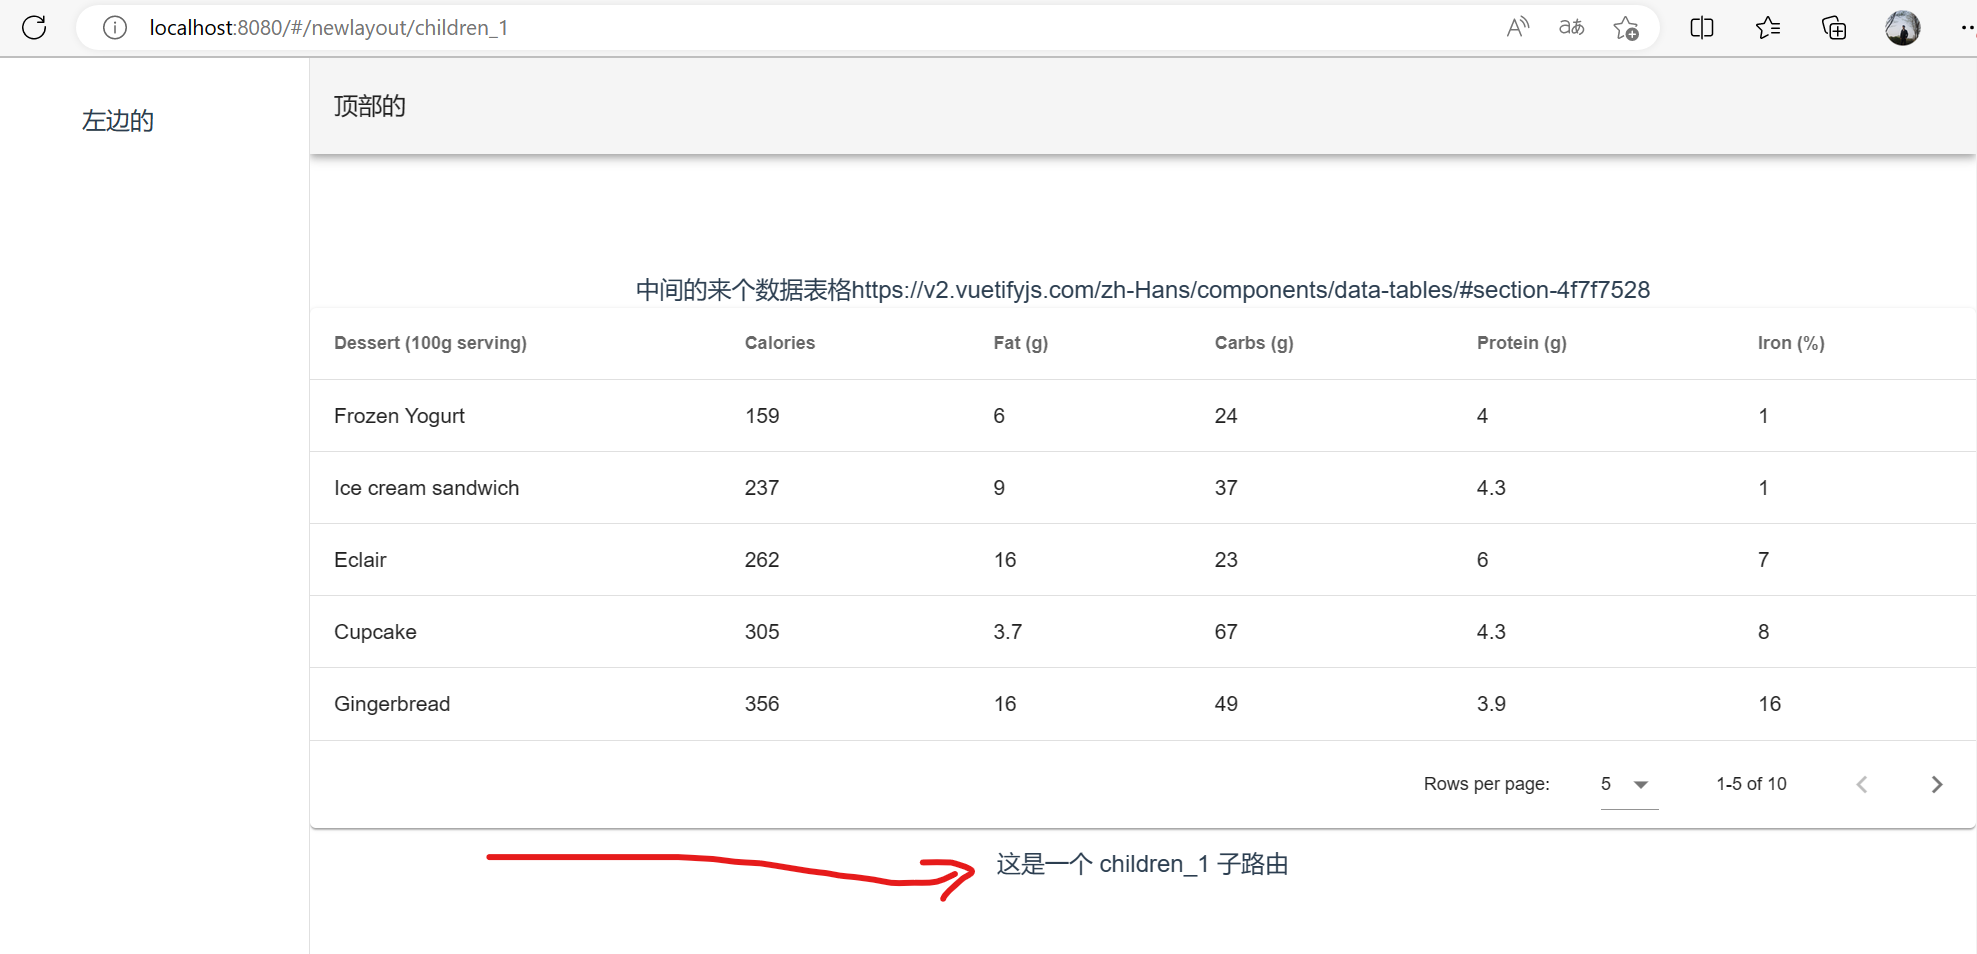
添加一个 Children_1.vue 页面
http://localhost:8080/#/newlayout/children_1 访问子路由,页面刷新
四、路由重定向
概念:用户访问地址 A 的时候,强制用户跳转到 B 地址
实现:通过路由规则的 redirect 属性,设置路由的重定向
const routes = [
  {
    // path设置为 / 表示页面最初始的地址
    path: '/',
    name: 'Home',
    component: Home,
    //redirect表示要被重定向的新地址,设置为一个路由即可
    redirect:'/layout'
  },
  {
    path:'/layout',
    name:'Layout',
    component: Layout,
  }
]
实践:
 1 const routes = [
 2   {
 3     path: '/',
 4     name: 'home',
 5     component: HomeView,
 6     redirect: '/newlayout'
 7   },
 8   {
 9     path: '/newlayout',
10     name: 'newlayout',
11     component: NewLayout,
12     children:[
13       {
14       path: 'children_1',
15       name: 'children_1',
16       component: Children_1
17       }
18     ]
19   },
20
21   {
22     path: '/about',
23     name: 'about',
24     // route level code-splitting
25     // this generates a separate chunk (about.[hash].js) for this route
26     // which is lazy-loaded when the route is visited.
27     component: () => import(/* webpackChunkName: "about" */ '../views/AboutView.vue')
28   }
29 ]
当访问 http://localhost:8080/ 时,会被强制访问http://localhost:8080/#/newlayout/页面。
五、编程式导航
官网说明:https://router.vuejs.org/zh/guide/essentials/navigation.html
页面导航的两种方式:
- 声明式导航:通过点击链接的方式实现的导航
- vue 组件中的
<router-link to="/user"></router-link>
- vue 组件中的
- 编程式导航:调用 JavaScript 的 api 方法实现导航
this.$router.push();this.$router.go();
1、声明式导航
1   <div id="app">
2     <nav>
3       <!-- 跳转页面 -->
4       <router-link to="/">Home</router-link> |
5       <router-link to="/about">About</router-link>
6     </nav>
7     <router-view/>
8   </div>
2、编程式导航
多种方式见官网说明
在 template 中添加按钮
1             <div>
2                 <!--编程式导航: https://router.vuejs.org/zh/guide/essentials/navigation.html -->
3                 <v-btn color="primary" @click="to_push_01">路径push跳转</v-btn>
4                 <v-btn @click="to_push_02">跳转</v-btn>
5                 <v-btn @click="go_forward">向前跳转</v-btn>
6                 <v-btn @click="go_back">返回跳转</v-btn>
7             </div>
在 script 中把上面的方法,在methods中定义
 1     methods:{
 2         to_push_01(){
 3             //字符串(路径名称)
 4             this.$router.push('/about')
 5         },
 6         to_push_02(){
 7             // 对象,访问地址:http://localhost:8080/#/about
 8             this.$router.push({ path: '/about'})
 9
10             // 命名的路由,访问地址:http://localhost:8080/#/about
11             // this.$router.push({ name: 'about'})
12
13             // 命名的路由(传递参数),访问地址:http://localhost:8080/#/about?userId=123&name=admin
14             // this.$router.push({ name: 'about', query: { userId:123, name:'admin'}})
15
16             // 带查询参数,访问地址:http://localhost:8080/#/about?userId=123&name=admin
17             this.$router.push({ path: '/about?userId=123&name=admin' })
18         },
19         go_forward(){
20           this.$router.go(1)
21         },
22         go_back(){
23           this.$router.go(-1)
24         },
25     },
笔记2023-4-1