首先在pom.xml导入依赖
<!-- springboot 邮件mail -->
        <dependency>
            <groupId>org.springframework.boot</groupId>
            <artifactId>spring-boot-starter-mail</artifactId>
            <version>2.7.2</version>
        </dependency>
        <!--测试类-->
        <dependency>
            <groupId>junit</groupId>
            <artifactId>junit</artifactId>
        </dependency>
        <dependency>
            <groupId>org.springframework</groupId>
            <artifactId>spring-test</artifactId>
        </dependency>
        <dependency>
            <groupId>org.springframework.boot</groupId>
            <artifactId>spring-boot-test</artifactId>
        </dependency>
然后在application.yml写入Spring邮箱配置
spring:
#邮箱
  mail:
#默认的邮件编码
    default-encoding: UTF-8
# 设置邮箱主机(服务商),这里使用QQ邮件服务器 ---->配置 SMTP 服务器地址
    host: smtp.qq.com
#配置邮箱用户名
    username: 123@qq.com
#配置密码,注意,不是真正的密码,而是刚刚申请到的授权码
    password: *********
#SMTP 服务器的端口
    port: 587
    properties:
      mail:
        smtp:
# 必须进行授权认证,它的目的就是阻止他人任意乱发邮件
          auth: true
#SMTP加密方式:连接到一个TLS保护连接
          starttls:
            enable: true
            required: true
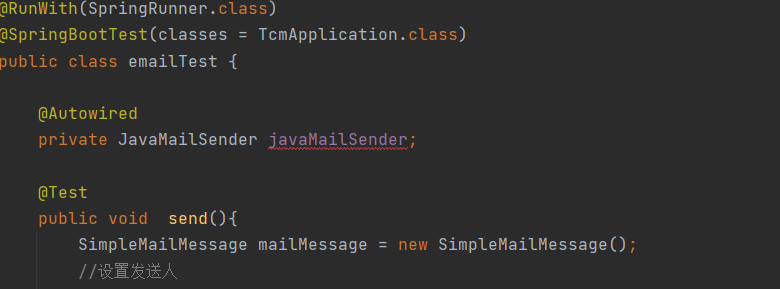
接下来写一个测试类emailTest
package com.haoyang.ceshi;

import com.haoyang.TcmApplication;
import org.junit.Test;
import org.junit.runner.RunWith;
import org.springframework.beans.factory.annotation.Autowired;
import org.springframework.boot.test.context.SpringBootTest;
import org.springframework.mail.SimpleMailMessage;
import org.springframework.mail.javamail.JavaMailSender;
import org.springframework.test.context.junit4.SpringRunner;

/*
 * eamil测试类
 * */

@RunWith(SpringRunner.class)
@SpringBootTest(classes = TcmApplication.class)
public class emailTest {

    @Autowired
    private JavaMailSender javaMailSender;

    @Test
    public void  send(){
        SimpleMailMessage mailMessage = new SimpleMailMessage();
        //设置发送人
        mailMessage.setFrom("123@qq.com");
        //邮件主题
        mailMessage.setSubject("灵异事件");
        //邮件内容
        mailMessage.setText("九十岁老太为何起死回生,数百头母猪为何半夜惨叫。女生宿舍为何频频失窃,超市方便面为何惨遭黑手。在达一切的背后,是人性的扭曲、还是道德的沦丧。");
        //收件人
        mailMessage.setTo("123@qq.com");
        javaMailSender.send(mailMessage);
    }

}
注意,有些人在private JavaMailSender javaMailSender;中可能会提示报错
这个时候还要在写一个配置MailConfiguration
package com.haoyang.config;

import org.springframework.context.annotation.Bean;
import org.springframework.context.annotation.Configuration;
import org.springframework.mail.javamail.JavaMailSender;
import org.springframework.mail.javamail.JavaMailSenderImpl;

import java.util.Properties;

@Configuration
public class MailConfiguration {
    @Bean
    public JavaMailSender getJavaMailSender() {
        JavaMailSenderImpl mailSender = new JavaMailSenderImpl();
        mailSender.setHost("smtp.qq.com");
        mailSender.setPort(587);
        mailSender.setUsername("123@qq.com");
        mailSender.setPassword("*********");
        Properties props = mailSender.getJavaMailProperties();
        props.put("mail.transport.protocol", "smtp");
        props.put("mail.smtp.auth", "true");
        props.put("mail.smtp.starttls.enable", "true");
        return mailSender;
    }
}
运行测试类时发现报错
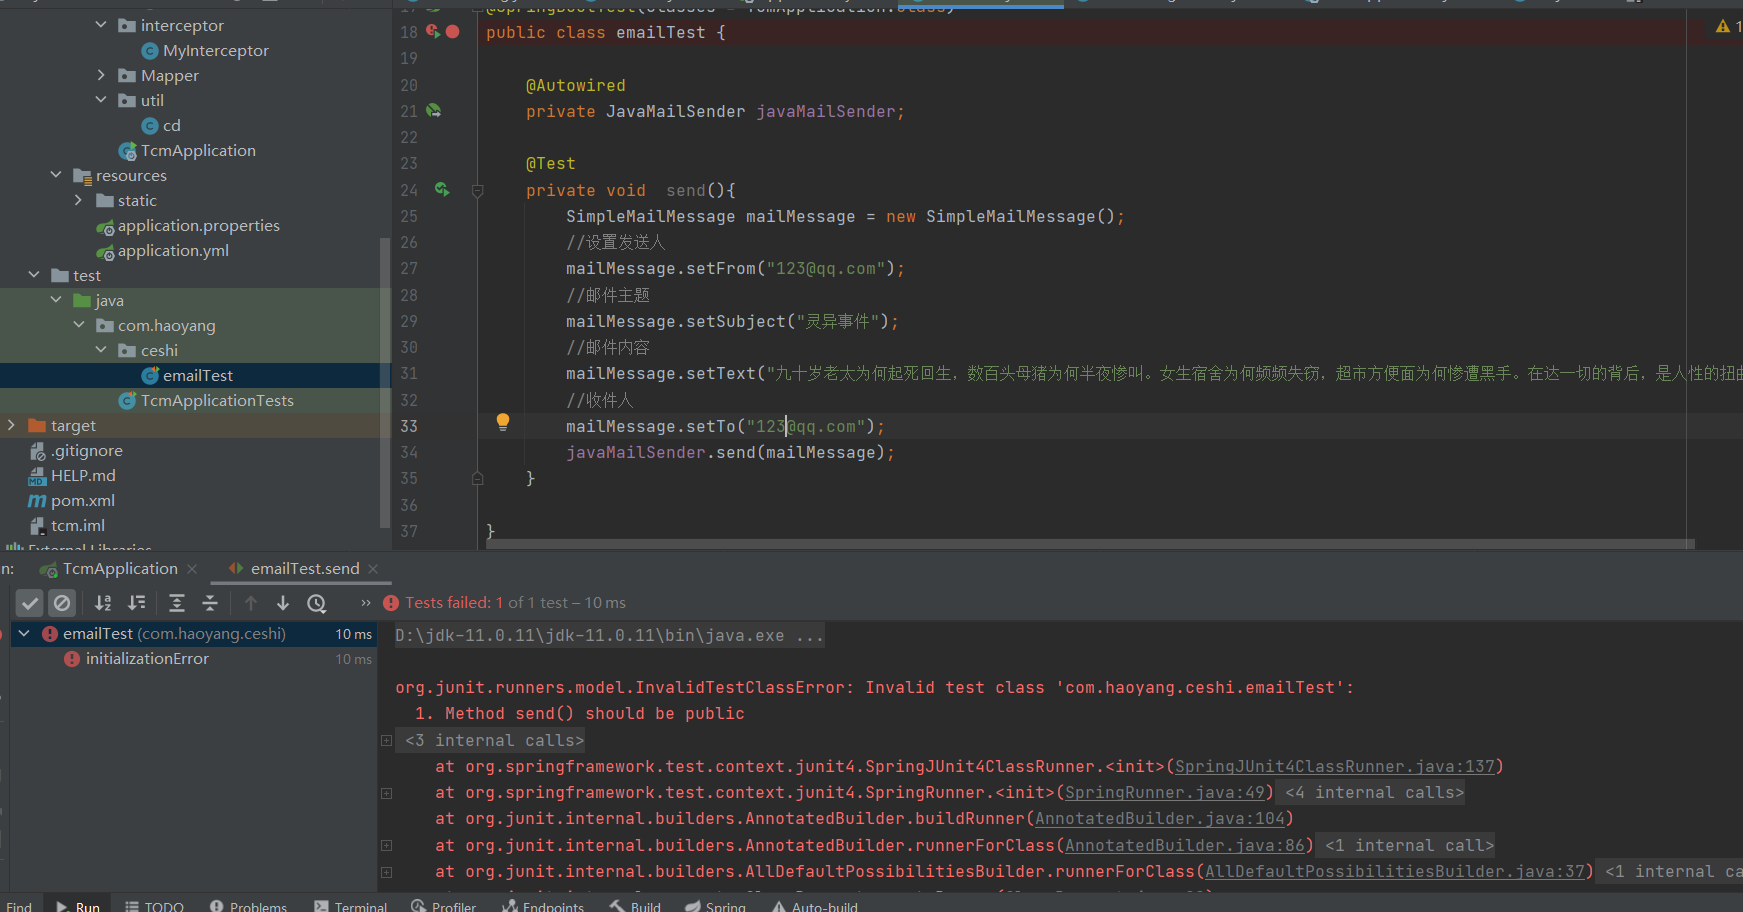
不要慌
 @Test
    public void  send(){    //这个地方的修饰符必须是public,不能是private
        SimpleMailMessage mailMessage = new SimpleMailMessage();
        //设置发送人
        mailMessage.setFrom("123@qq.com");
        //邮件主题
        mailMessage.setSubject("灵异事件");
        //邮件内容
        mailMessage.setText("九十岁老太为何起死回生,数百头母猪为何半夜惨叫。女生宿舍为何频频失窃,超市方便面为何惨遭黑手。在达一切的背后,是人性的扭曲、还是道德的沦丧。");
        //收件人
        mailMessage.setTo("123@qq.com");
        javaMailSender.send(mailMessage);
    }
然后重新运行就可以了