原文:https://www.codewithharry.com/blogpost/transferring-files-passwordless-login-ubuntu-20-04/
Transferring Files, Passwordless login & Managing multiple servers
In this post, I will show you how to avoid entering passwords multiple times while managing your servers. Also, I will tell you few tricks I use to manage multiple servers efficiently. Let's start with uploading files to the server
Uploading files to your server
In order to upload files to your server, you can use an SFTP client like Filezilla which simply can be used by entering your server IP, username, and password. Follow the steps below:
Step 1 - Download and install Filezilla
FileZilla Client is a fast and reliable cross-platform FTP, FTPS, and SFTP client with lots of useful features and an intuitive graphical user interface. Download this free software from here

Install Filezilla on your computer and open it.
Step 2 - Login to your server using FileZilla
Enter your server IP, username, and password inside the boxes at the top in FileZilla. Make sure your enter 22 as the port. Press enter and wait for some time.
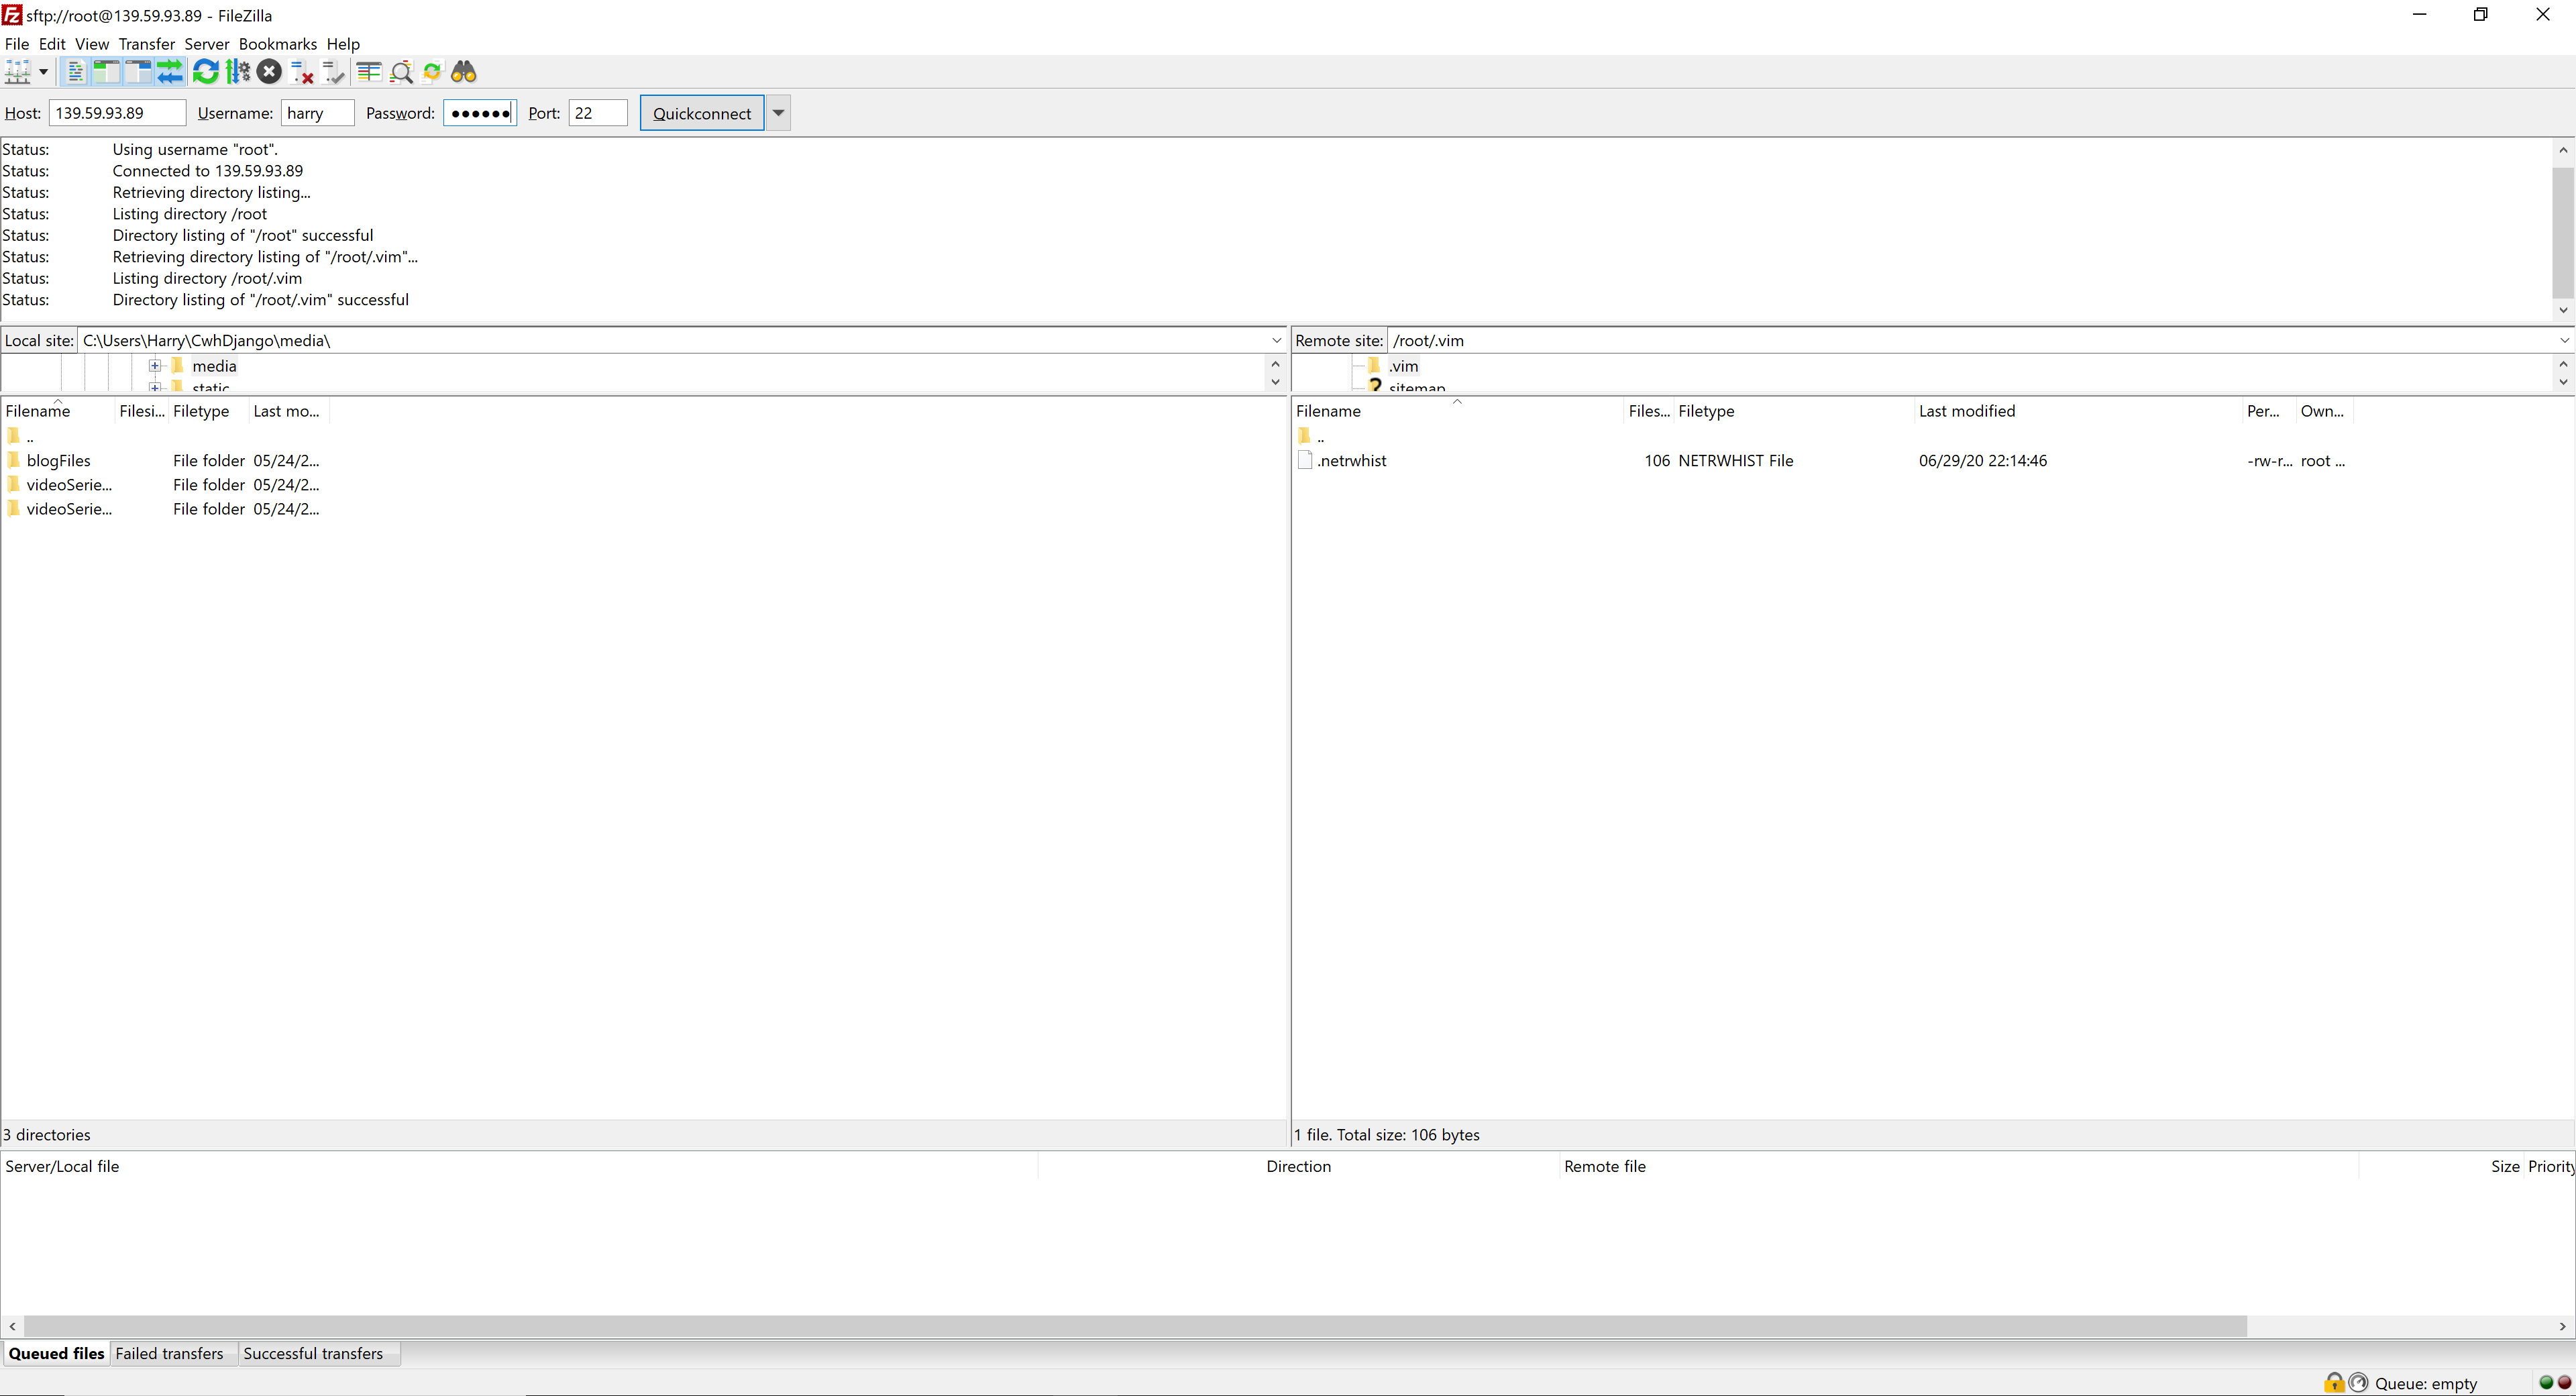
Step 3 - Uploading files to your server
You can now upload files to your server by navigating to the directory of your choice and dragging/dropping your files into the folder(on your server) of your choice.
Enabling passwordless login to your server
Every time we need to log in to our server, we type 'ssh user@ip-address' command followed by the strong password which is quite cumbersome.
We can avoid typing this strong password without having to compromise security by authorizing our machine to log in to the server without the password every time we type a single (short) command. Follow the steps below:
Step 1 - Create a private-public key pair
We can create a private-public key pair using ssh-keygen. Execute the following command on your server:
This generates a private-public key pair on your computer. Press enter 3 times to choose the default options.

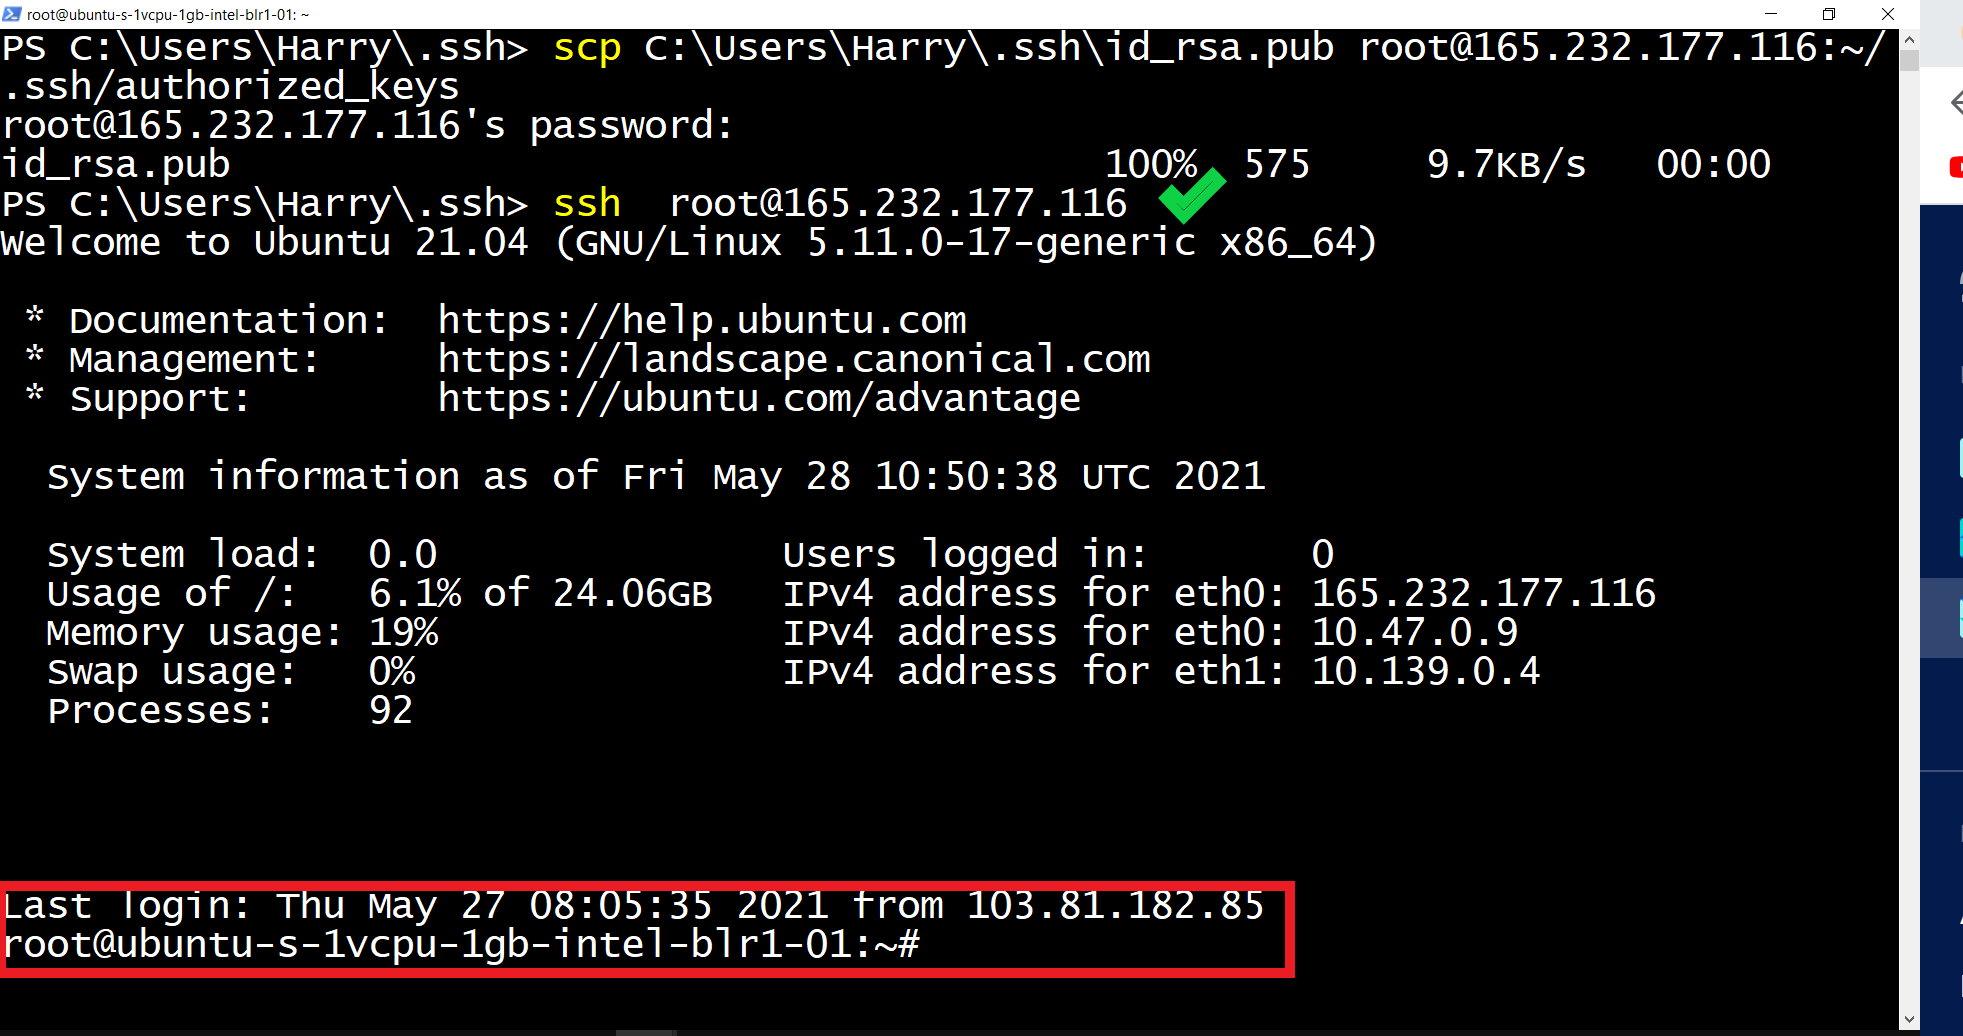
Step 2 - Deploy ssh key on your server
Login to your server using ssh(preferably non-root user) and password and execute the following command:
This will create a .ssh in the home directory ('/home/harry/' in my case) of your user. DigitalOcean droplet ships with a root account so creating this '.ssh' directory is not needed if you want to configure serverless login for root.
Execute the following command on your host computer:
Replace 'C:\Users\Harry' with your user home directory on Windows. You will be prompted for the password. Enter your password and your ssh key will be deployed.
Step 3 - Test your passwordless login
Try to log into your server by entering the following command. Replace user with your username and ip-address with your server's ip address
Quick login using Powershell profiles
If you are using Windows Powershell, you can use PowerShell profiles to efficiently log in to multiple servers. Personally, I manage multiple servers including the one which hosts this site. I need to switch from a personal server to my client's server on a very regular basis. It gets hectic to remember multiple passwords and type them repeatedly. Hence I use PowerShell functions to manage multiple servers. If you are overwhelmed, don't! This is easier than you think and once you configure it you will never look back. Follow the below steps:
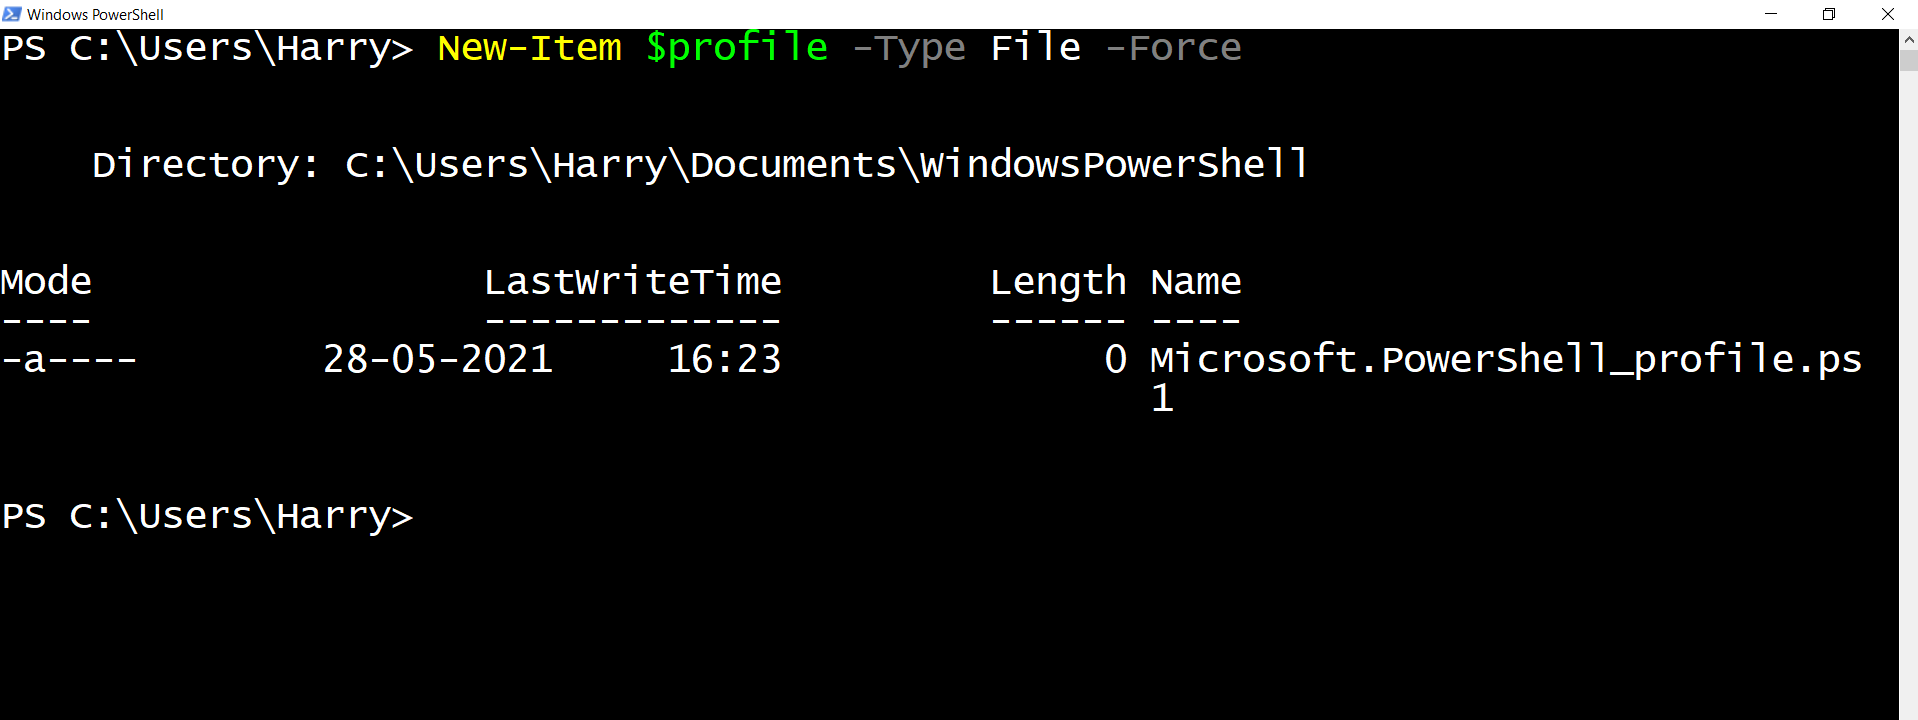
Step 1 - Create a PowerShell profile
Create a PowerShell profile using the command below:
This creates a PowerShell profile that will execute whenever you start PowerShell on your computer.
Step 2 - Open and add a function to the PowerShell profile
Open your PowerShell profile by executing the following command on Windows:
As a part of the next step, we will add few functions to our PowerShell profile. Paste the following code to your profile
Replace the usernames and IP addresses with the actual values of your servers. Finally, save and close the file.

Step 3 - Test your profile
If you don't restart PowerShell you will see an error like this:
Restart your PowerShell and type client2:
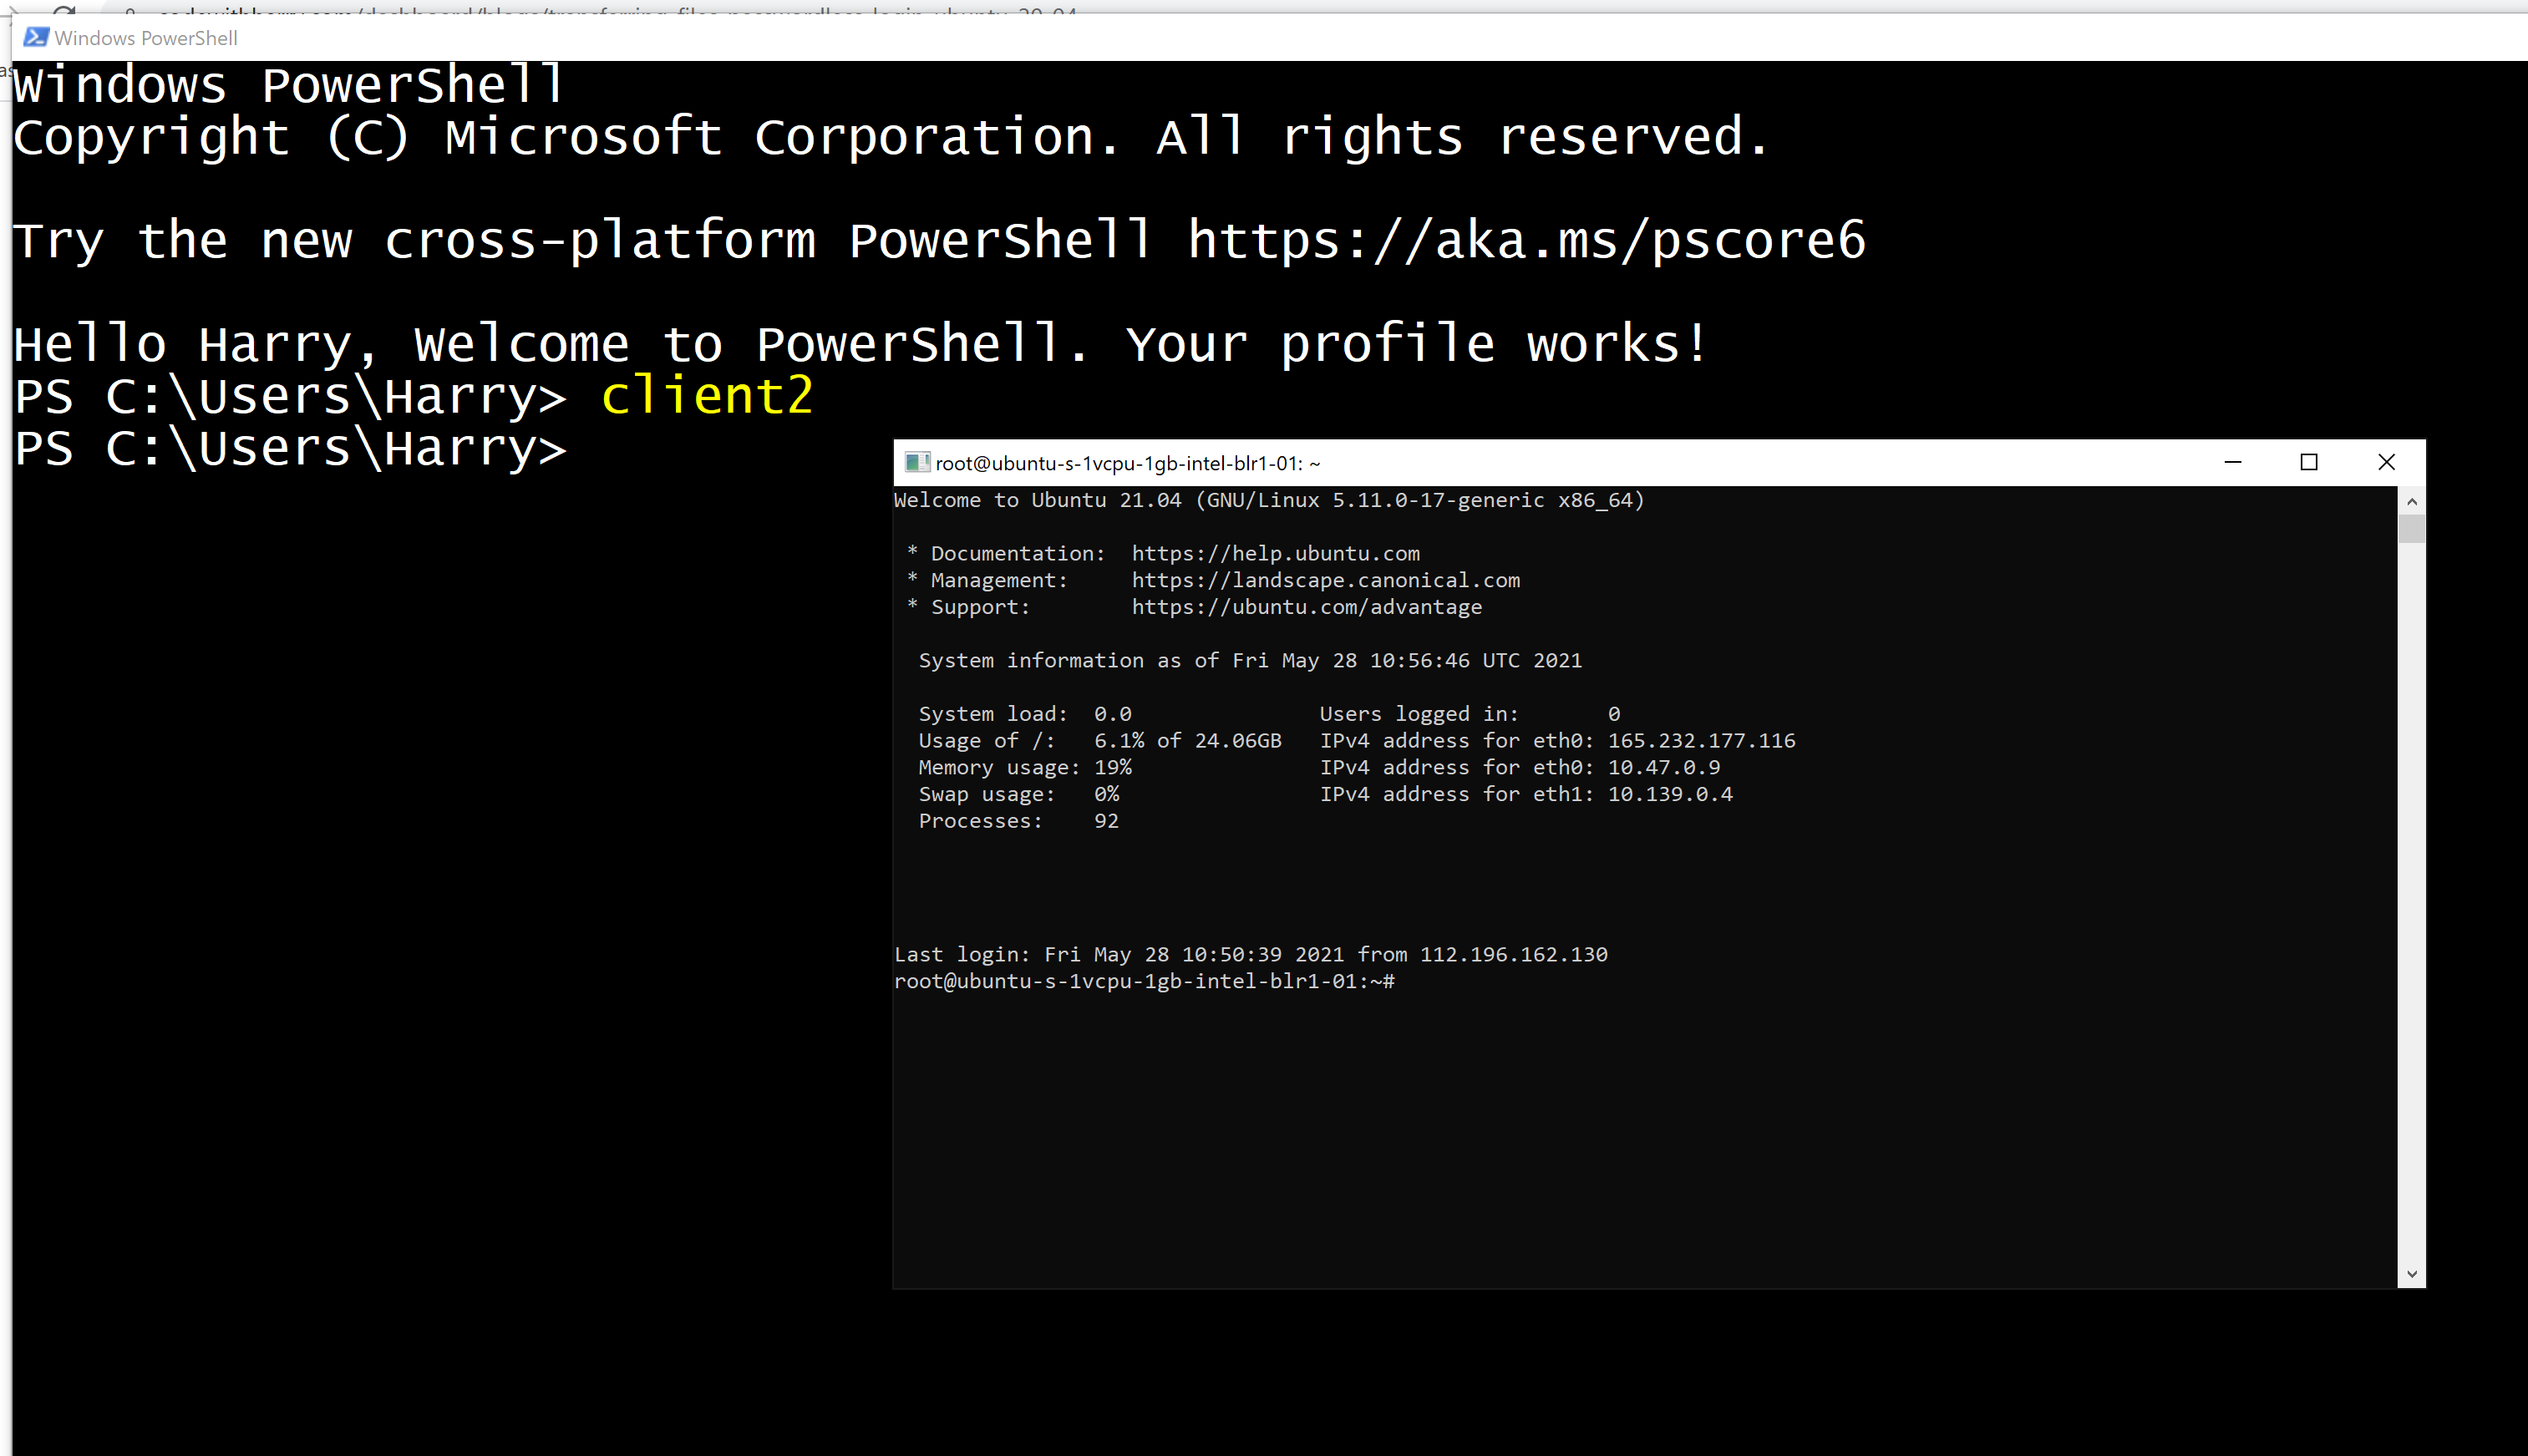
Your profile should now work. Close all the PowerShell instances and reopen PowerShell. Now try to execute any one of the following commands:
Wow we are now able to open the server we created for our client by issuing a single word command ie 'client1'
Note: You can always configure serverless login for a root user but using a root account for day-to-day activities is not recommended.
You can configure as many servers as you want of your choice. Hope you understood and will start incorporating this into your server workflows. Happy coding!