PXE操作过程
-
分配给同一局域网内新加机器的地址(配置文件) dhcp 分配地址 指明tftp 服务器的地址
-
tftp服务端开启 udp 配置 默认关闭
-
安装syslinux 取得 pxelinux.0 文件
-
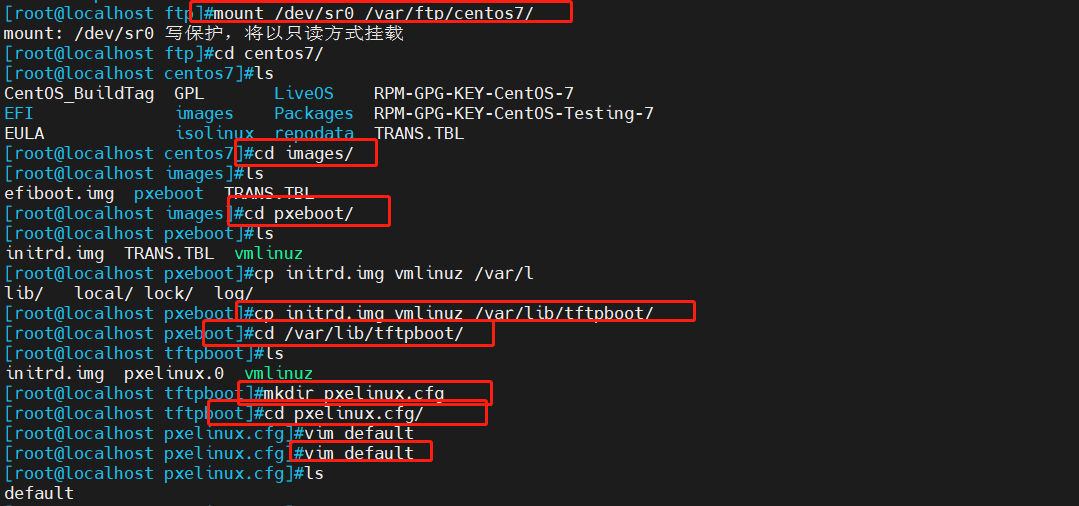
安装vsftpd服务挂载软件安装源(mount /dev/sr0 /var/ftp/centos7)
-
将四大文件拷入 (/var/lib/tftpboot )
-
initrd.img
-
pxelinux.0 (类似grub)
-
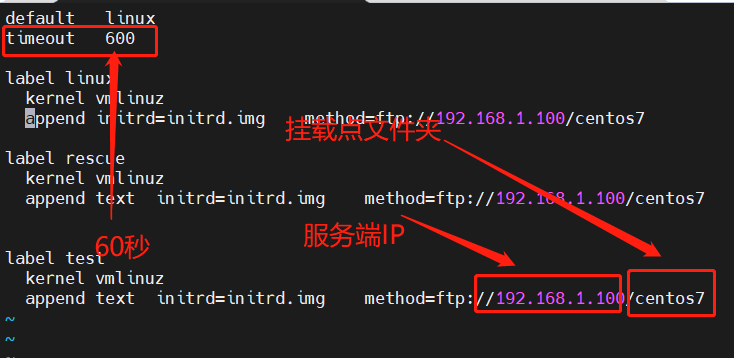
pxelinux.cfg/default (手写)
-
vmlinuz
6.将服务开启,关闭防火墙,selinux
具体操作步骤:
[root@localhost tftpboot]#systemctl stop firewalld              #关闭防火墙
[root@localhost tftpboot]#setenforce 0
[root@localhost ~]#yum install tftp-server.x86_64 vsftpd syslinux dhcp -y

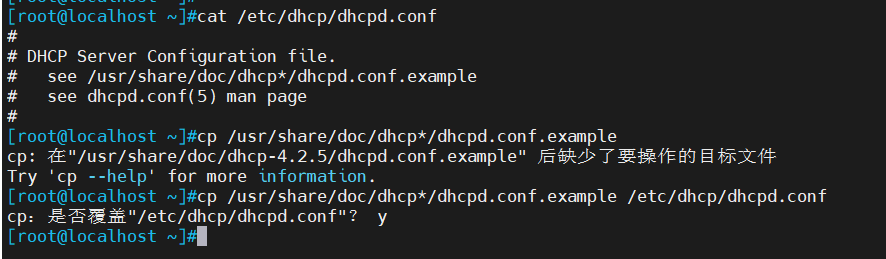
2.将配置文件模板复制到dhcp目录下
[root@localhost ~]#cat /etc/dhcp/dhcpd.conf 查看dhcp配置文件
#
# DHCP Server Configuration file.
# see /usr/share/doc/dhcp*/dhcpd.conf.example 提示去这个路径
# see dhcpd.conf(5) man page
#
[root@localhost ~]#cp /usr/share/doc/dhcp*/dhcpd.conf.example /etc/dhcp/dhcpd.conf 将路径内容复制到配置文件中修改
cp:是否覆盖"/etc/dhcp/dhcpd.conf"? y
[root@localhost ~]#
[root@localhost ~]#vim /etc/dhcp/dhcpd.conf
进入配置文件  指定位置

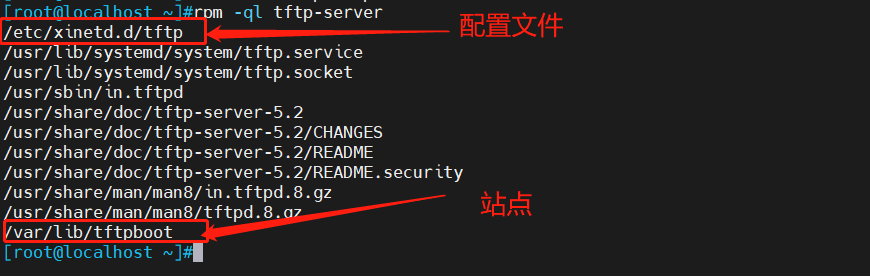
[root@localhost ~]#rpm -ql tftp-server
查看配置文件
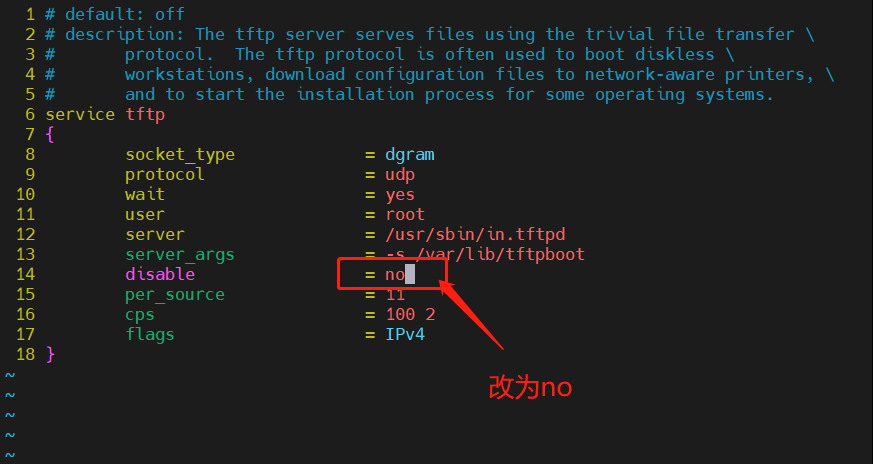
[root@localhost ~]#vim /etc/xinetd.d/tftp
#14行改成no,启动服务
[root@localhost ~]#rpm -ql syslinux |grep pxelinux.0  找到该文件的地址
/usr/share/syslinux/gpxelinux.0
/usr/share/syslinux/pxelinux.0
[root@localhost ~]#cp /usr/share/syslinux/pxelinux.0 /var/lib/tftpboot/
拷贝到站点文件里

[root@localhost ~]#rpm -ql vsftpd
#/var/ftp 看到这个配置
[root@localhost ~]#cd /var/ftp/
[root@localhost ftp]#ls
pub
[root@localhost ftp]#mkdir centos7
[root@localhost ftp]#ls
centos7 pub

[root@localhost ftp]#mount /dev/sr0 /var/ftp/centos7/
mount: /dev/sr0 写保护,将以只读方式挂载
[root@localhost ftp]#cd centos7/
[root@localhost centos7]#ls
CentOS_BuildTag GPL LiveOS RPM-GPG-KEY-CentOS-7
EFI images Packages RPM-GPG-KEY-CentOS-Testing-7
EULA isolinux repodata TRANS.TBL
[root@localhost centos7]#cd images/
[root@localhost images]#ls
efiboot.img pxeboot TRANS.TBL
[root@localhost images]#cd pxeboot/
[root@localhost pxeboot]#ls
initrd.img TRANS.TBL vmlinuz
[root@localhost pxeboot]#cp initrd.img vmlinuz /var/lib/tftpboot/
[root@localhost pxeboot]#cd /var/lib/tftpboot/
[root@localhost tftpboot]#ls
initrd.img pxelinux.0 vmlinuz
[root@localhost tftpboot]#mkdir pxelinux.cfg
[root@localhost tftpboot]#cd pxelinux.cfg/
[root@localhost pxelinux.cfg]#vim default
[root@localhost pxelinux.cfg]#vim default
[root@localhost pxelinux.cfg]#ls
default
#vim default
[root@localhost pxelinux.cfg]#cd ../
[root@localhost tftpboot]#ls
initrd.img  pxelinux.0  pxelinux.cfg  vmlinuz
[root@localhost tftpboot]#systemctl start dhcpd   开启服务
[root@localhost tftpboot]#systemctl start tftp.socket   开启服务
[root@localhost tftpboot]#systemctl start vsftpd   开启服务
检验
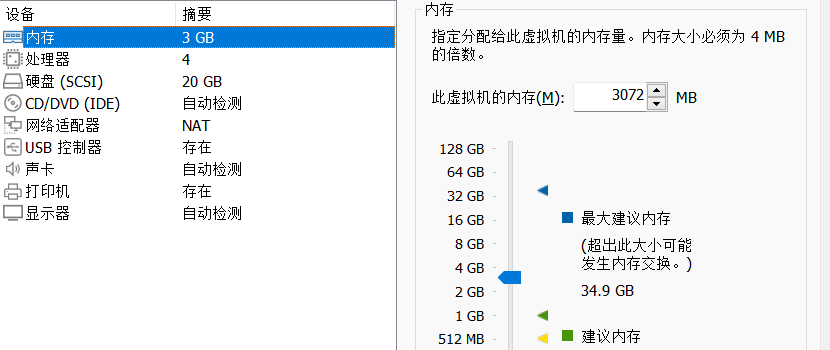
新建虚拟机内存要求最少2G
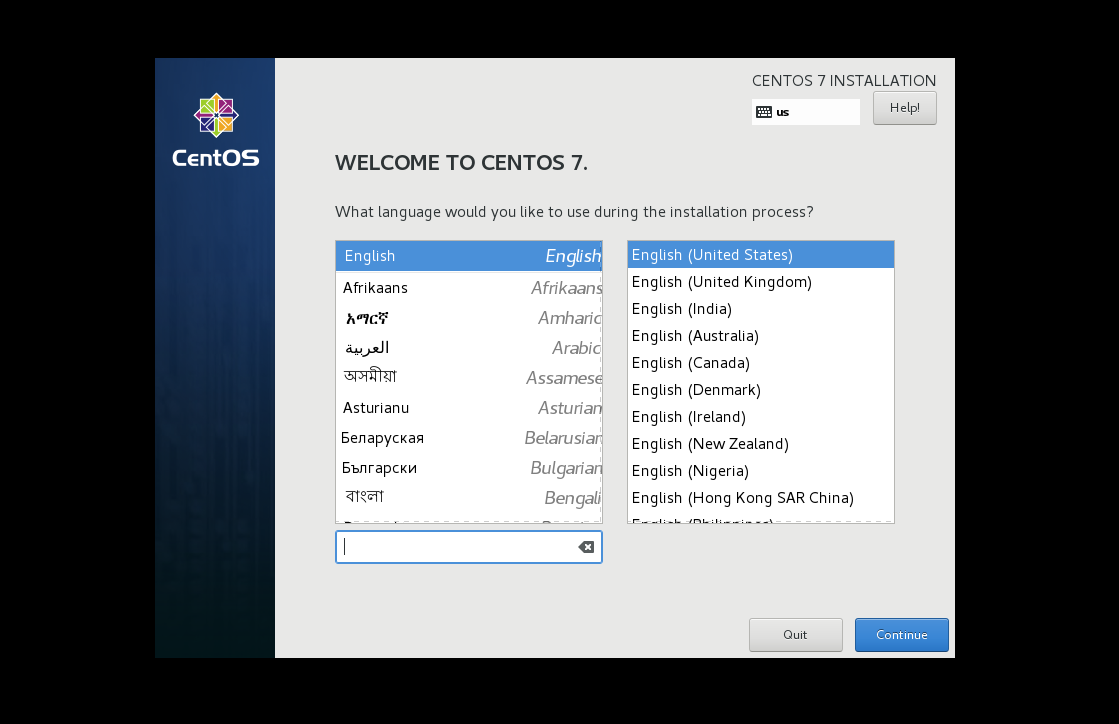
开机等待出现这个页面即可
kickstart 无人值守安装
注意:
CentOS 8,7,6 不同版本的kickstart文件格式不尽相同,不可混用
[root@localhost tftpboot]#yum install system-config-kickstart -y
#安装图形化工具 在服务端
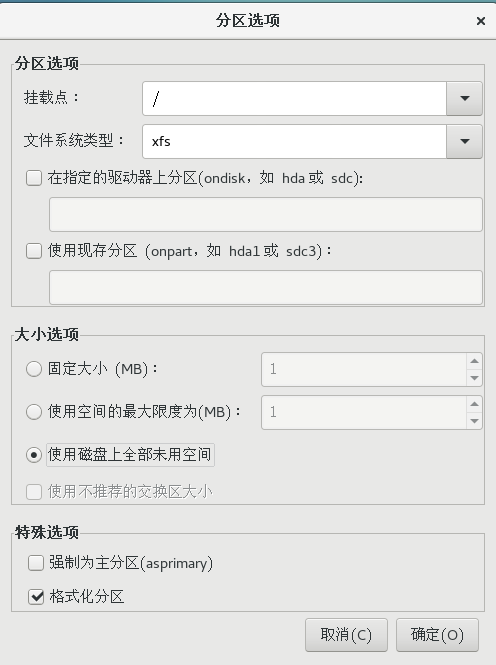
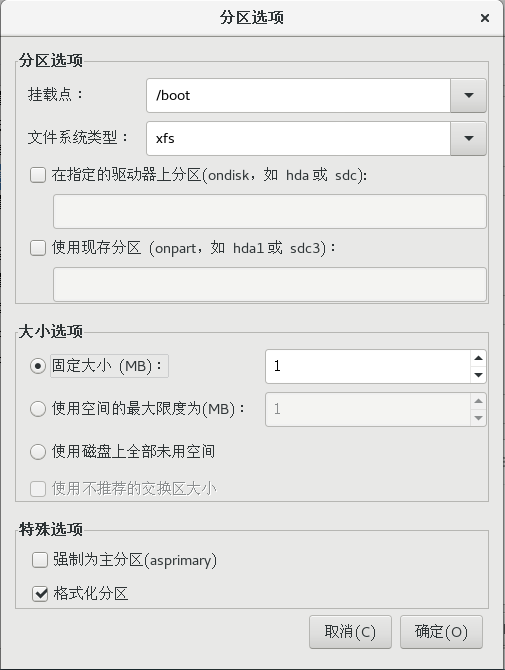
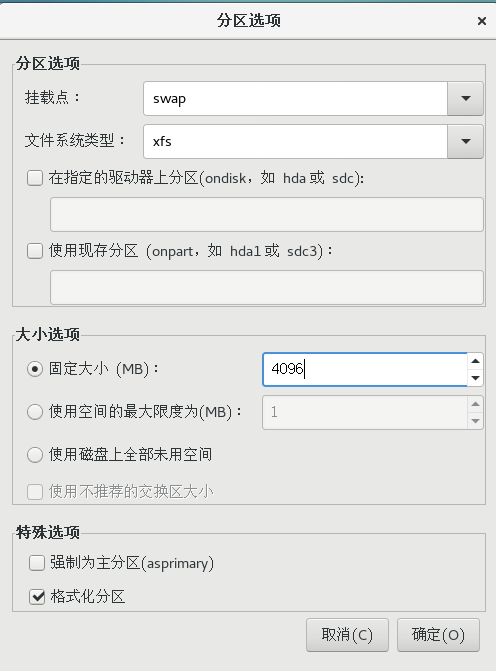
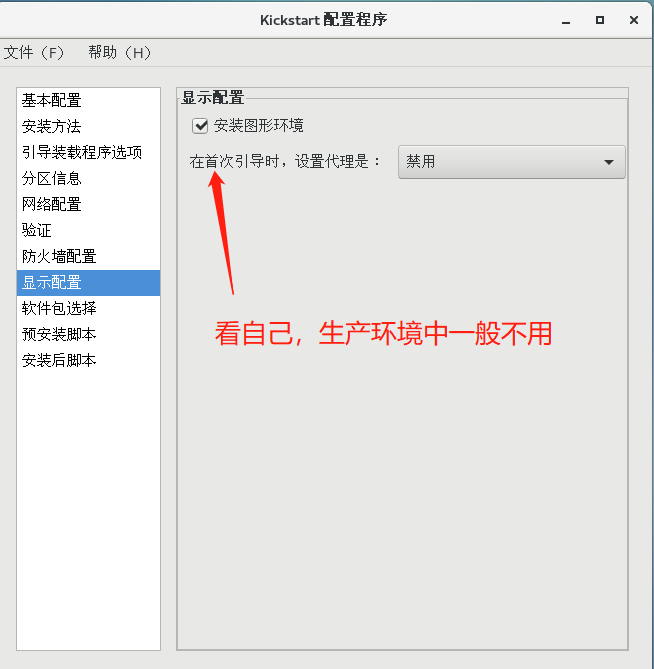
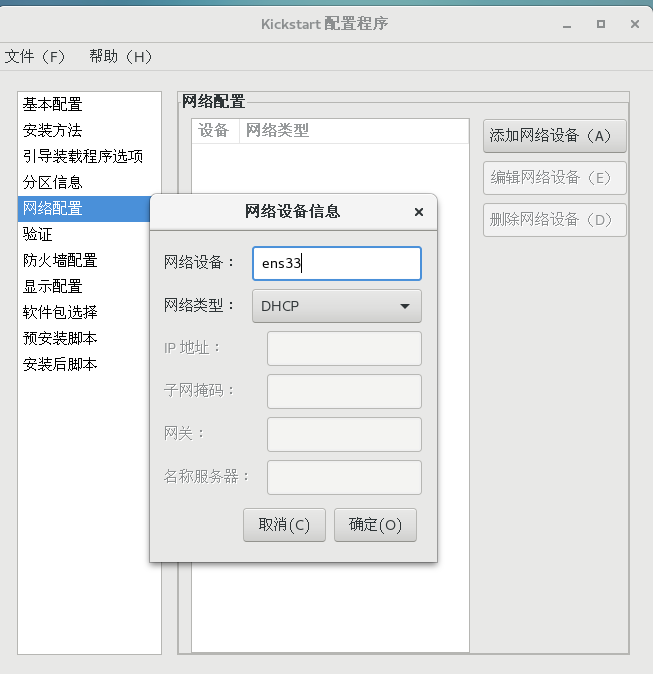
安装好后进入虚拟图形交界面找到kickstart
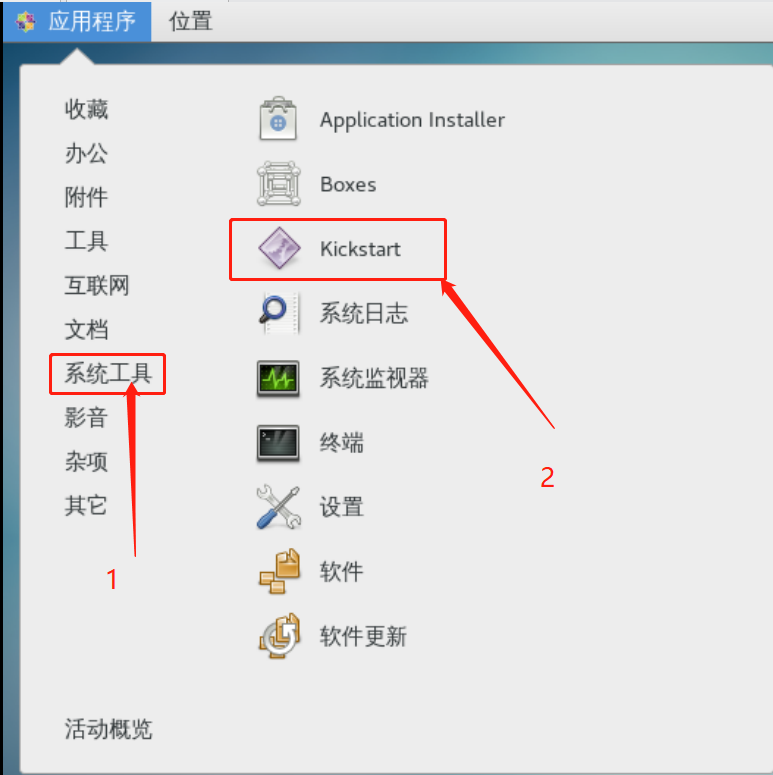
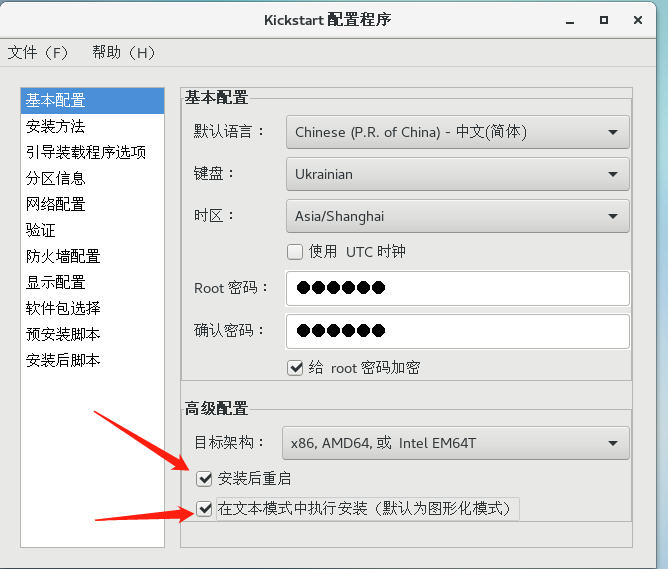
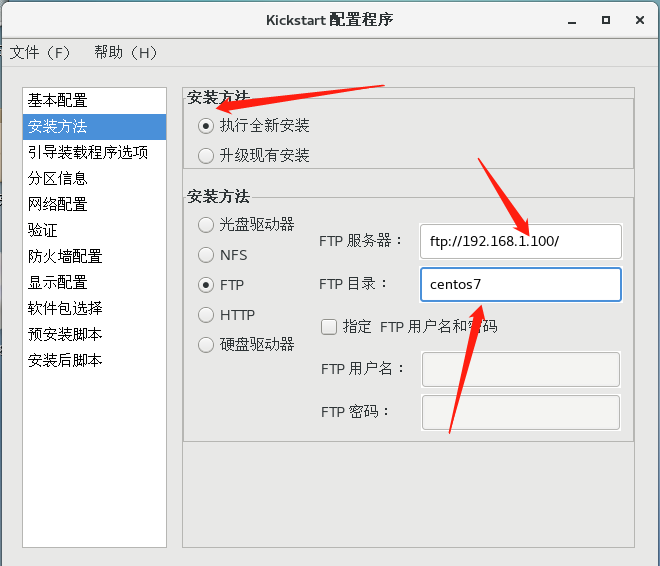
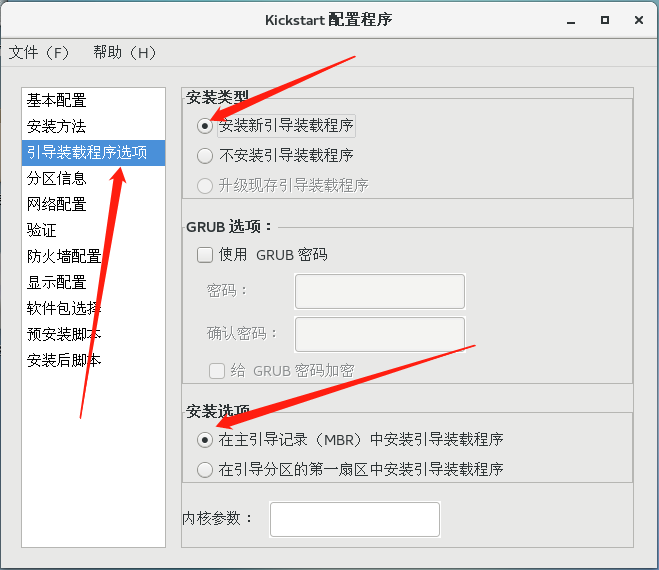
根据需求配置


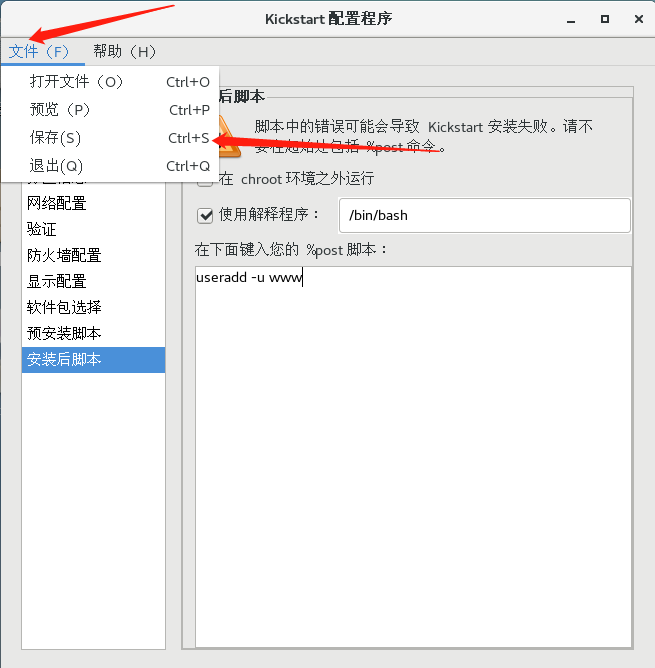
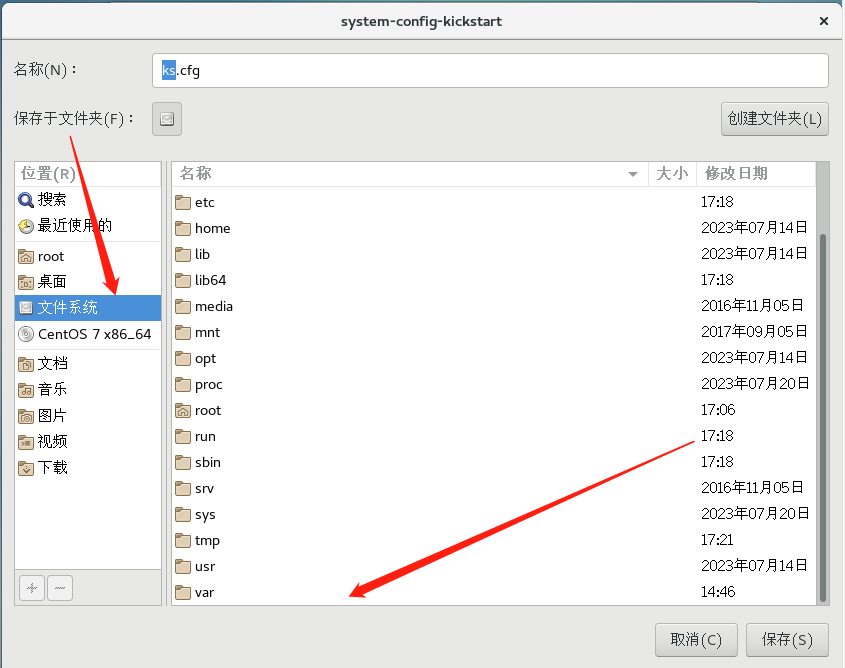
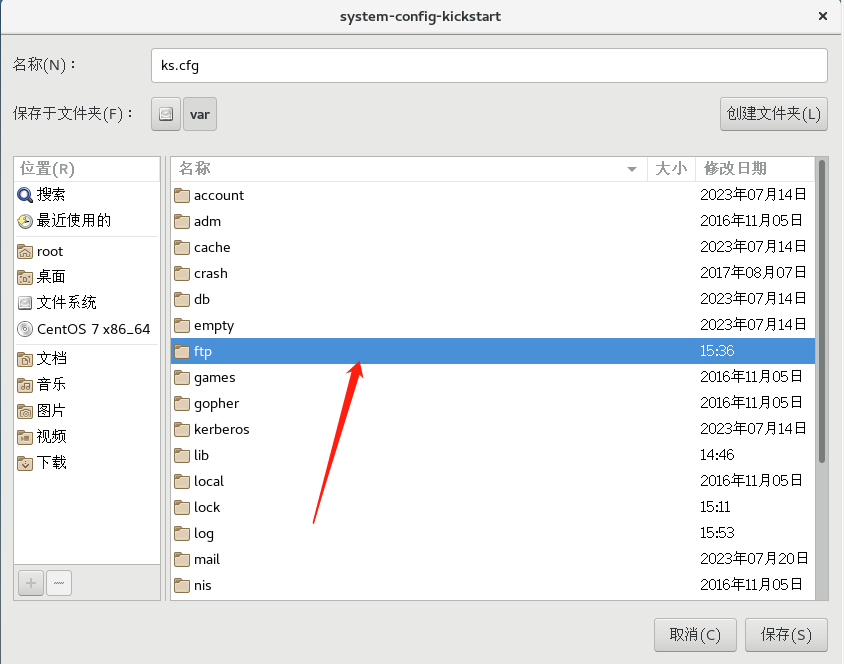
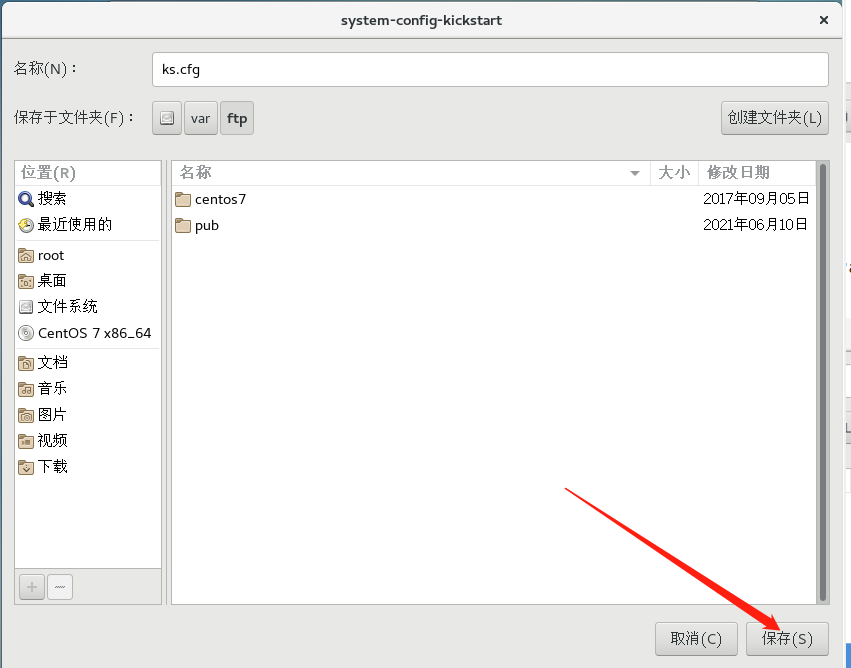
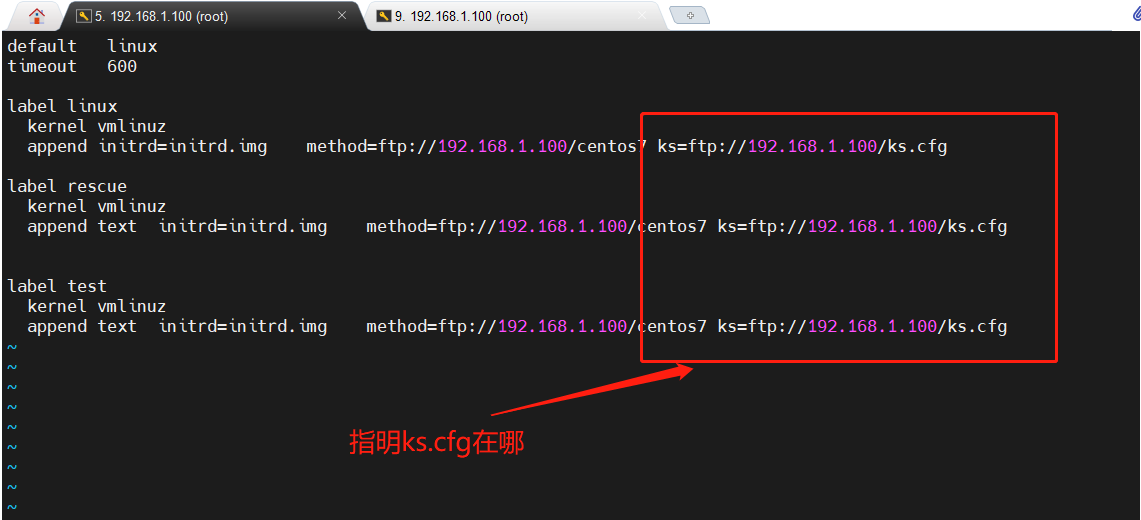
回到MObax添加配置文件
[root@localhost ftp]#cd /var/lib/tftpboot/
[root@localhost tftpboot]#ls
initrd.img pxelinux.0 pxelinux.cfg vmlinuz
[root@localhost tftpboot]#cd pxelinux.cfg/
[root@localhost pxelinux.cfg]#ls
default
[root@localhost pxelinux.cfg]#vim default
检验
重启
自动给我们配置好了